Nanorater2,600+ people have rated a photo

Skin Quality Face Rater

AI-rates how your skin looks in photos. Flags harsh lighting, oil shine, redness, and texture exaggeration—then gives a photo-friendly routine and lighting tips to look smoother on camera.
No photo handy? Rate an example:

Example rating reportExample output

AI result

Your personalized report will appear here with clear strengths and practical retake advice.

Free score and summary; free account for the full single-photo report$17.49 once for your Glow-Up Report: AI previews of you with the fixes appliedSee our privacy policy for photo storage and AI processing

What one photo gives you

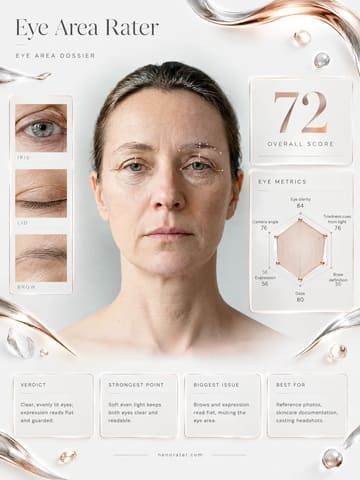
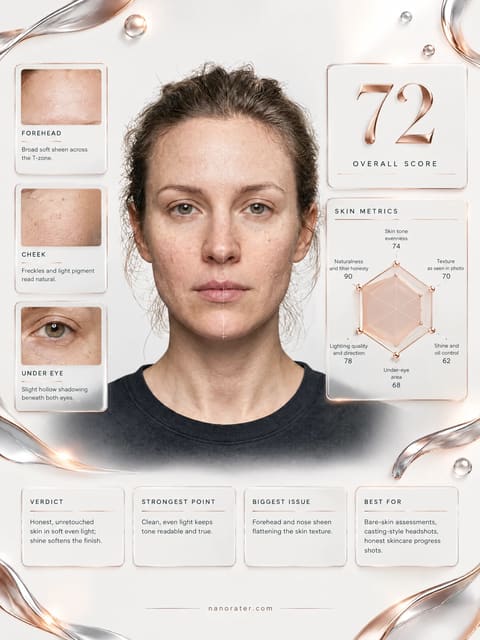
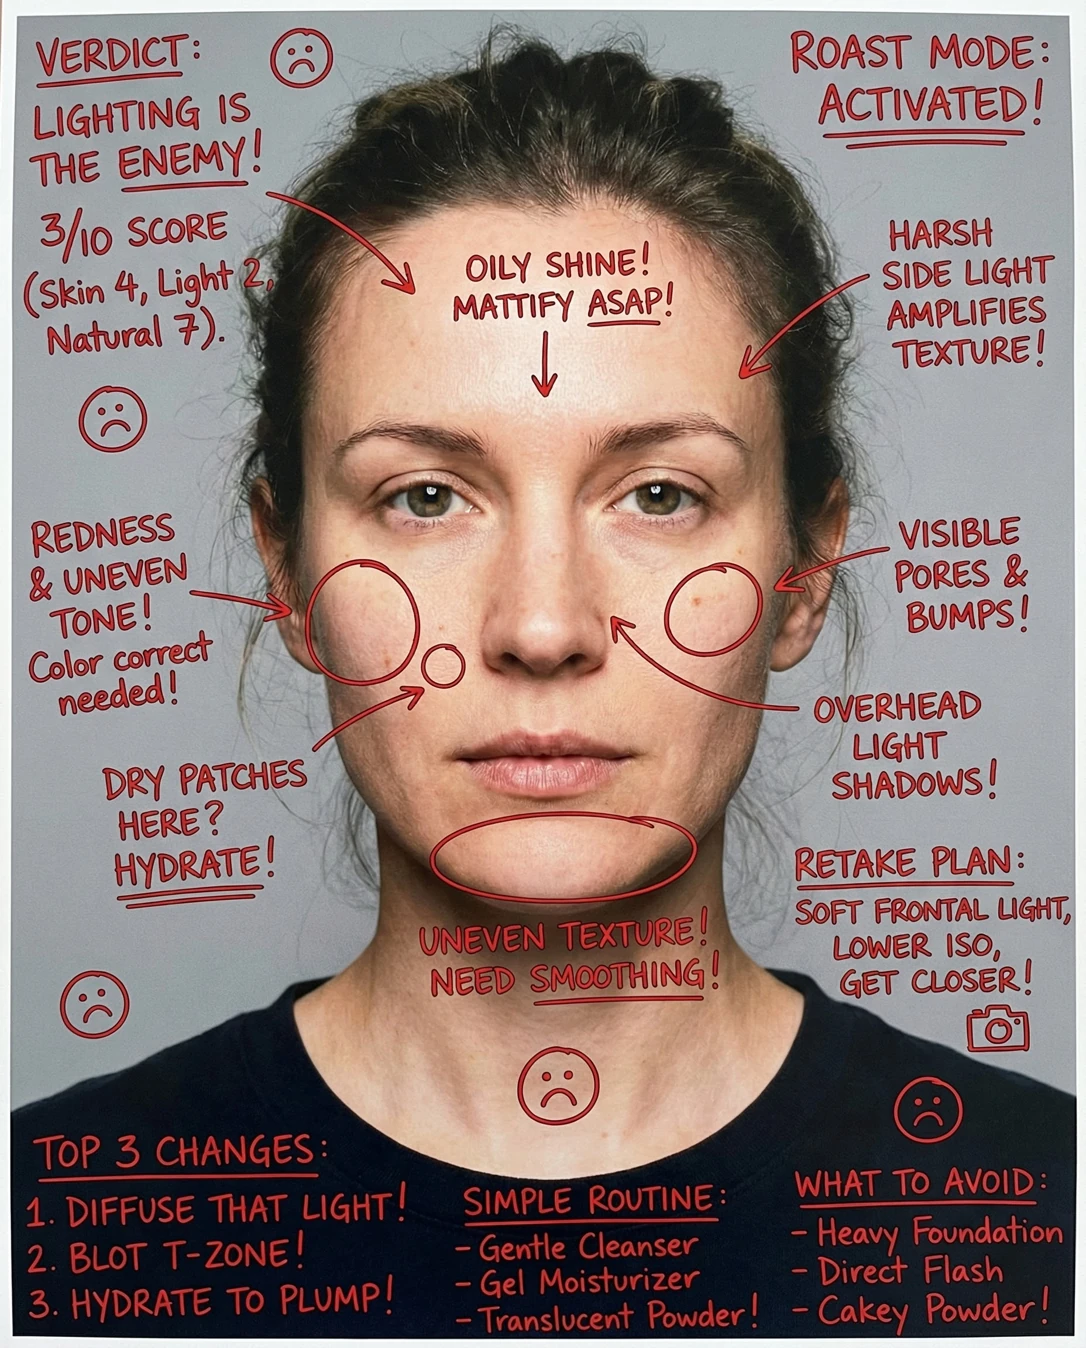
One upload, three deliverables. The annotated notes and the professional card are both built from the same photo, so you can compare them side by side.

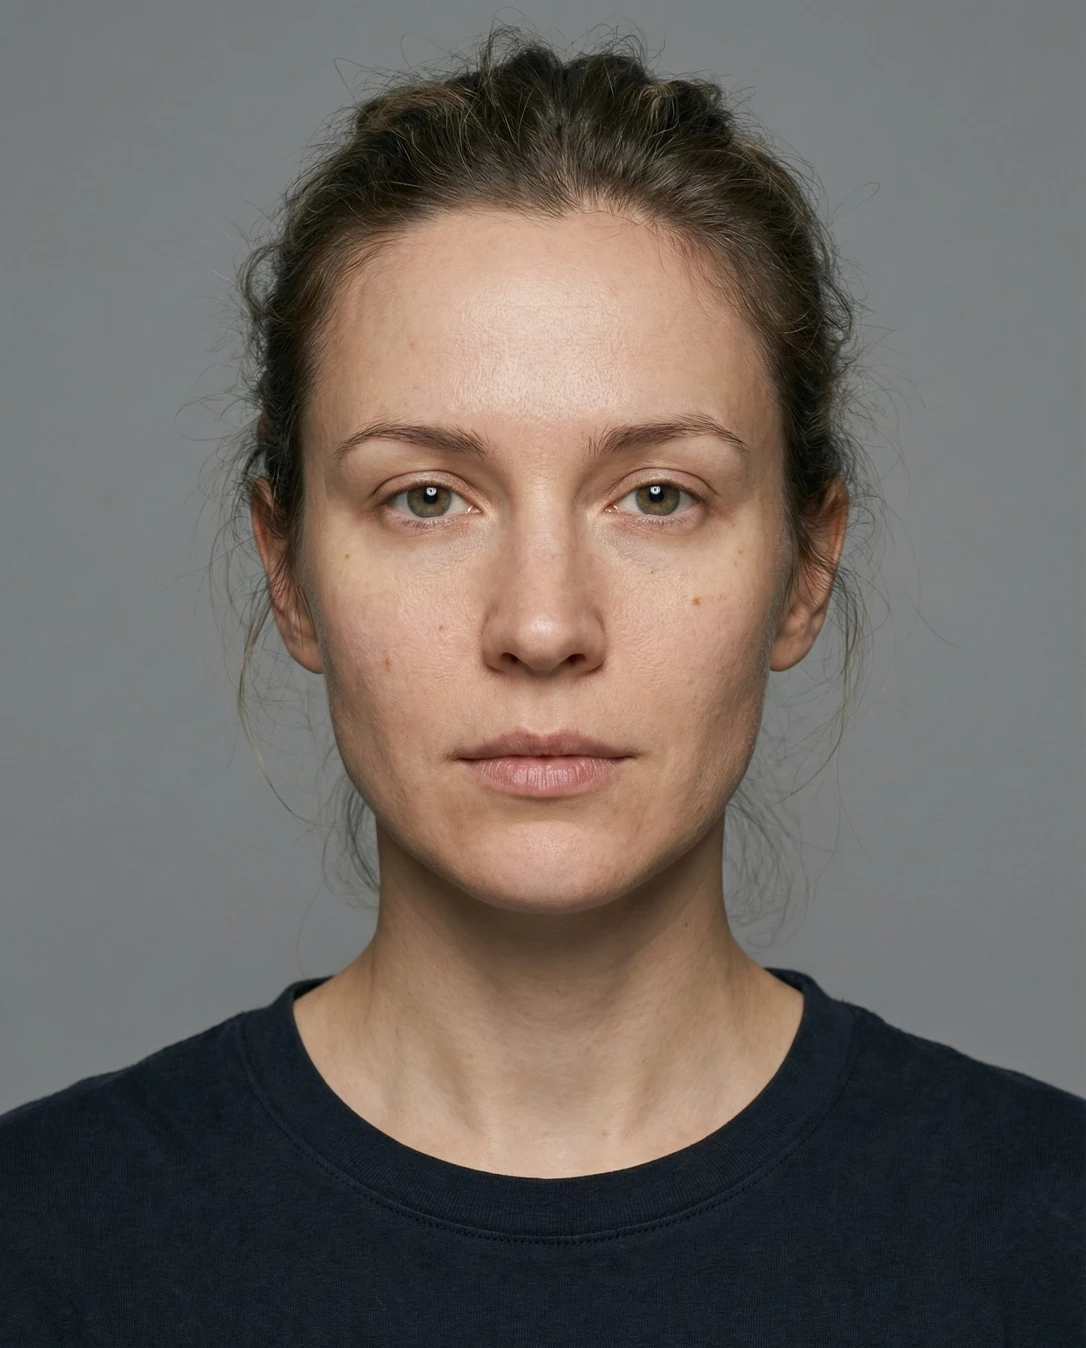
Skin Quality Face Rater: Doodle notesSkin Quality Face Rater: Your photoYour photoDoodle notes
Drag the divider — or use arrow keys — to wipe between the original upload and the annotated result.
Skin Quality Face Rater: Professional card
Professional cardA clean, shareable report card built from the same photo

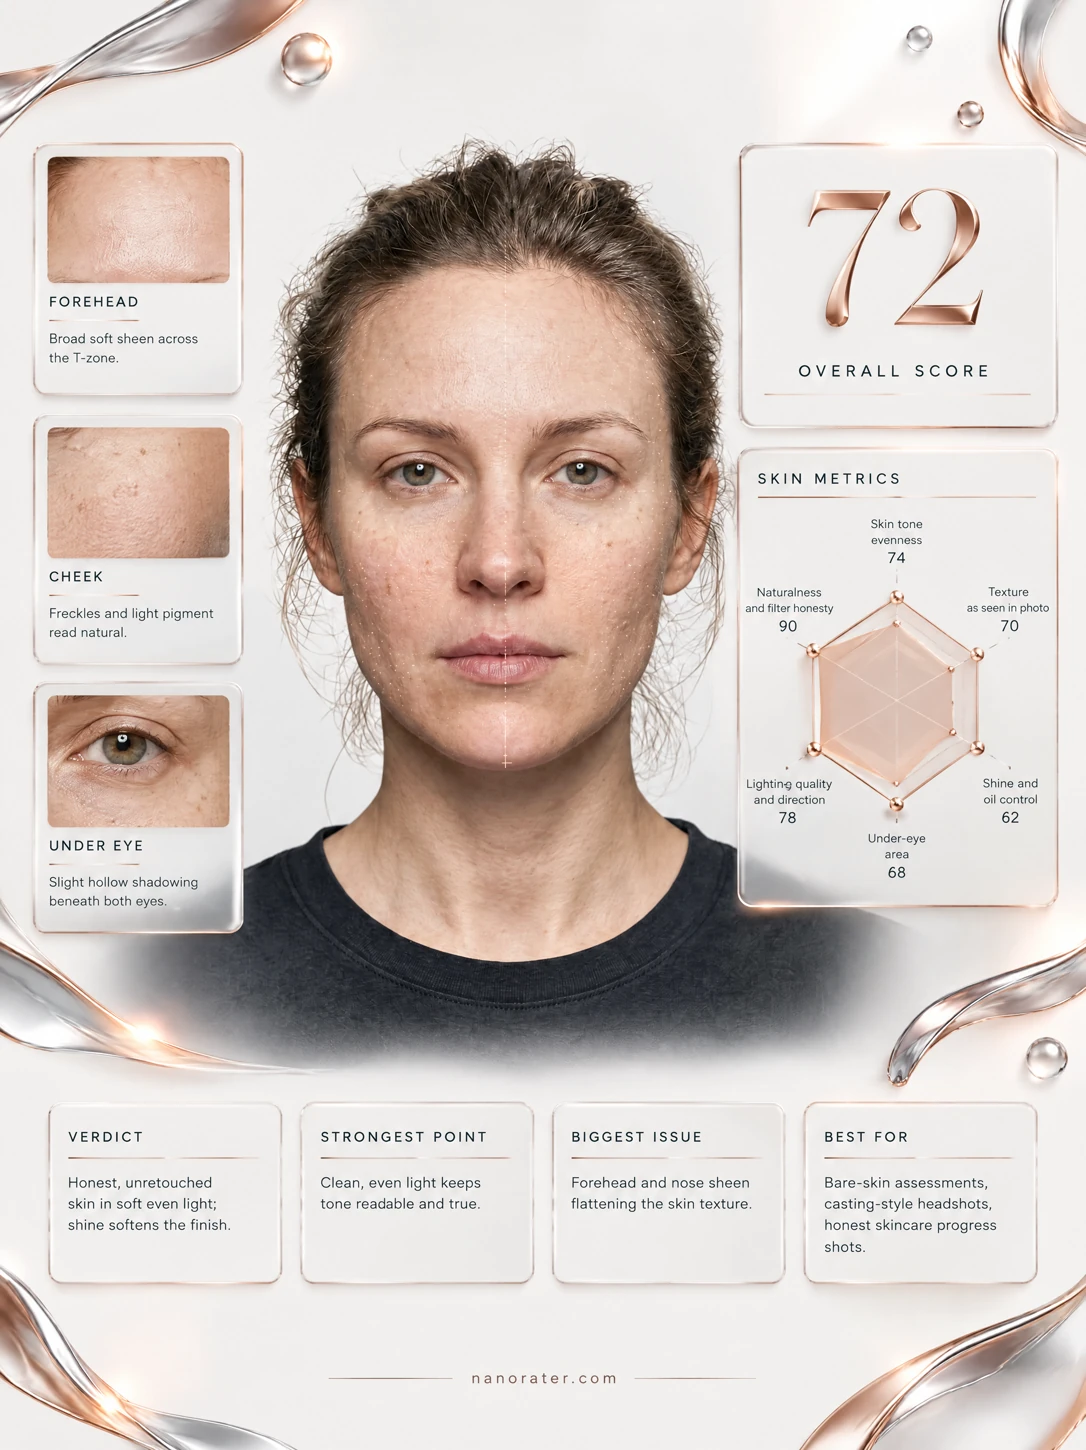
A real report, captured

A quietly stunning, honest skin portrait — keep the no-filter magic, and just blot the T-zone so the light stops catching there first.

77/ 100
Potential
92

Where this photo works

This is a perfect fit for skincare progress logs, bare-faced beauty portfolios, dermatology-adjacent documentation and natural makeup before/afters; it is too raw and shine-forward for polished social avatars, corporate headshots or glossy campaign work.

Quickest fixes

  • Blot forehead, nose and chin with clean blotting paper immediately before capture.
  • Apply a light dusting of translucent powder only where shine peaks, not all over the face.
  • Add a diffusion panel, white shower curtain or bounce card between the light and the face.

Retake plan

  1. 1.Prep skin with a gentle cleanse and lightweight moisturizer; wait 10 minutes before shooting so shine settles.
  2. 2.Blot T-zone; if you powder, use a translucent formula only on forehead, nose and chin.
  3. 3.Set the key light at 45° above eye level and 30–45° to one side, diffused through a softbox, umbrella or white sheet.
  4. 4.Place a white bounce card below the chin to lift under-eye shadows without flat-lighting the whole face.
  • Skin texture & visible pores74

    Pores, fine lines and natural grain are clearly resolved across forehead, cheeks and chin; no smoothing filter is present.

  • Tone evenness & redness68

    Mild redness across cheeks, nose and chin; scattered freckles and small moles create natural tonal variation.

  • Oil & shine control60

    Specular highlights are brightest on forehead, nose bridge and inner cheeks, reading as T-zone shine.

  • Under-eye area66

    Slight violet-brown shadowing and fine texture under both eyes; no major puffiness is visible.

  • Lighting quality for skin80

    Even frontal light with soft shadows under the jaw; no harsh side falloff or flash hotspots.

  • Color fidelity & white balance82

    Skin tone reads natural and neutral-warm; no strong color cast on the face or gray backdrop.

  • Naturalness / no over-retouching95

    Freckles, pores and fine lines are preserved; no smoothing, blurring or heavy makeup is evident.

  • Grooming & finishing details85

    Hair is pulled back cleanly with soft flyaways; bare lips and minimal brow grooming keep focus on skin.

  • Camera distance & perspective84

    Head-and-shoulders framing, centered, both ears visible; lens distance appears flattering with minimal distortion.

  • Background separation88

    Uniform gray backdrop keeps attention on skin; subject stands clear of background with no distracting elements.

What works

  • Authentic bare skin with real texture

    Freckles, pores and fine lines are all visible, making this a trustworthy skin reference rather than a filtered image.

  • Even, flattering frontal framing

    Face is centered, both eyes are level, and the head-and-shoulders crop gives clear access to forehead, cheeks and chin.

What holds it back

  • Forehead and nose shine

    Bright specular highlights on the forehead, nose bridge and inner cheeks make the T-zone look oilier than the rest of the face.

  • Visible redness across cheeks and nose

    Mild pink-redness spreads across the mid-face, slightly breaking tone evenness.
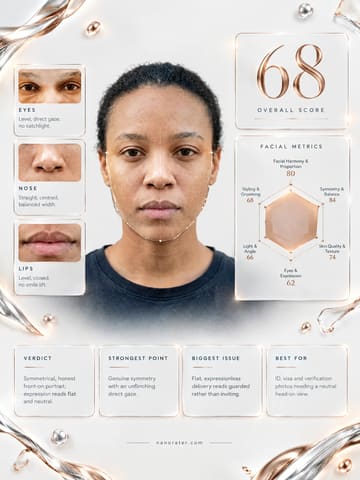
Generated by the live pipeline from the example photo above — a real report, unedited. Your report is written about your photo, in your language.

What this tool does

This tool reviews how skin appears in your photo: visible shine, redness, texture, and lighting. A photo cannot establish their causes or separate a skin condition from camera effects with certainty. Use the feedback to try lighting and framing changes; it is not a skin diagnosis.

  • Photo is clear and well-lit (can actually see skin texture).
  • No heavy beauty filters or smoothing effects applied.
  • Lighting is even (not creating artificial shadows or shine).
  • Face is in focus (blur hides real skin quality).
  • Photo represents typical lighting conditions (not extreme).
  • No obvious glare or reflection on skin.
  • Color balance looks natural (not too warm or cool).
  • Photo is recent (represents current skin condition).

How to use it

  1. 1Upload a clear, unfiltered photo of your face.
  2. 2Take photos in different lighting conditions if possible.
  3. 3Review visible skin presentation and possible lighting effects; causes cannot be confirmed from a photo.
  4. 4Implement the lighting recommendations (usually biggest impact).
  5. 5Try the photo-friendly skincare basics suggested.
  6. 6Experiment with different angles to minimize texture appearance.
  7. 7Retake photos using the new techniques and compare results.

Scoring rubric

Skin quality

The overall look of the skin — evenness, clarity, and that healthy lit-from-within glow.

Tone & texture

Evenness of colour and how smooth the surface reads up close.

Light & color

How the light flatters the face and whether the skin tone reads natural and true.

Styling & grooming

Hair, grooming, and the finishing details that make the look feel intentional.

Who it's for

  • Anyone frustrated with how their skin looks in photos.
  • People who feel their skin looks worse in pictures than in person.
  • Those wanting to minimize the appearance of texture or redness.
  • Anyone curious about lighting's effect on skin appearance.
  • People looking for photo-friendly skincare basics.
  • Models, actors, or anyone with photoshoots coming up.

Who it's not for

  • If you want medical dermatology advice or diagnosis.
  • If you are seeking treatment for skin conditions.
  • If the photo quality is too poor to assess skin.
  • If you want heavy photo editing or filter recommendations.
  • If you cannot accept that lighting plays a huge role.
  • If you are looking for product-specific recommendations.

Do and don't

Do

  • Use soft, diffused natural light (window light is ideal).
  • Face the light source directly for even illumination.
  • Use a mattifying primer if you have oily skin.
  • Keep skin hydrated—dehydration shows up on camera.
  • Blot excess oil before photos (not during).
  • Use the 2x lens to reduce distortion and texture exaggeration.
  • Take photos after your skincare has fully absorbed.

Don't

  • Do not use heavy beauty filters—they look fake.
  • Do not use harsh direct flash (creates shine and shadows).
  • Do not take photos in very low light (noise exaggerates texture).
  • Do not over-matte your skin (can look flat and unnatural).
  • Do not compare yourself to heavily edited beauty photos.
  • Do not use ultra-close wide-angle shots (distorts everything).
  • Do not treat photo feedback as a diagnosis of skin concerns.

Common questions

FAQ

Harsh lighting, flash, and low-light noise can exaggerate texture and redness. Even small angle changes can make shine look much stronger. Often it is the camera, not your skin.

Nanorater

Rate more photos with different personas

Upload one photo, switch the point of view, and iterate on feedback you can use.

AI Disclosure: This tool uses artificial intelligence to analyze photos and provide feedback. Results are for entertainment and educational purposes and should not be considered professional advice.