Nanorater2,600+ people have rated a photo

Side Profile Face Rater

Free AI side profile rater: rate my side profile photo for jawline, nose line and posture, with honest fixes for light and camera height.
No photo handy? Rate an example:

Example rating reportExample output

AI result

Your personalized report will appear here with clear strengths and practical retake advice.

Free score and summary; free account for the full single-photo report$17.49 once for your Glow-Up Report: AI previews of you with the fixes appliedSee our privacy policy for photo storage and AI processing

Live data

What photos actually score here

Anonymous aggregates from every completed rating with this tool — no photos, no personal data, refreshed hourly.

2,142
Photos rated
62.5 / 100
Average score
+19.9
Typical headroom left

Score distribution

0
10
20
30
40
50
60
70
80
90

Most common weak spots

Posture36%
Light & color33%
Profile & jawline14%

The share of recent ratings where this rubric line was among the two lowest-scoring dimensions.

Based on the 395 most recent completed ratings.

What one photo gives you

One upload, three deliverables. The annotated notes and the professional card are both built from the same photo, so you can compare them side by side.

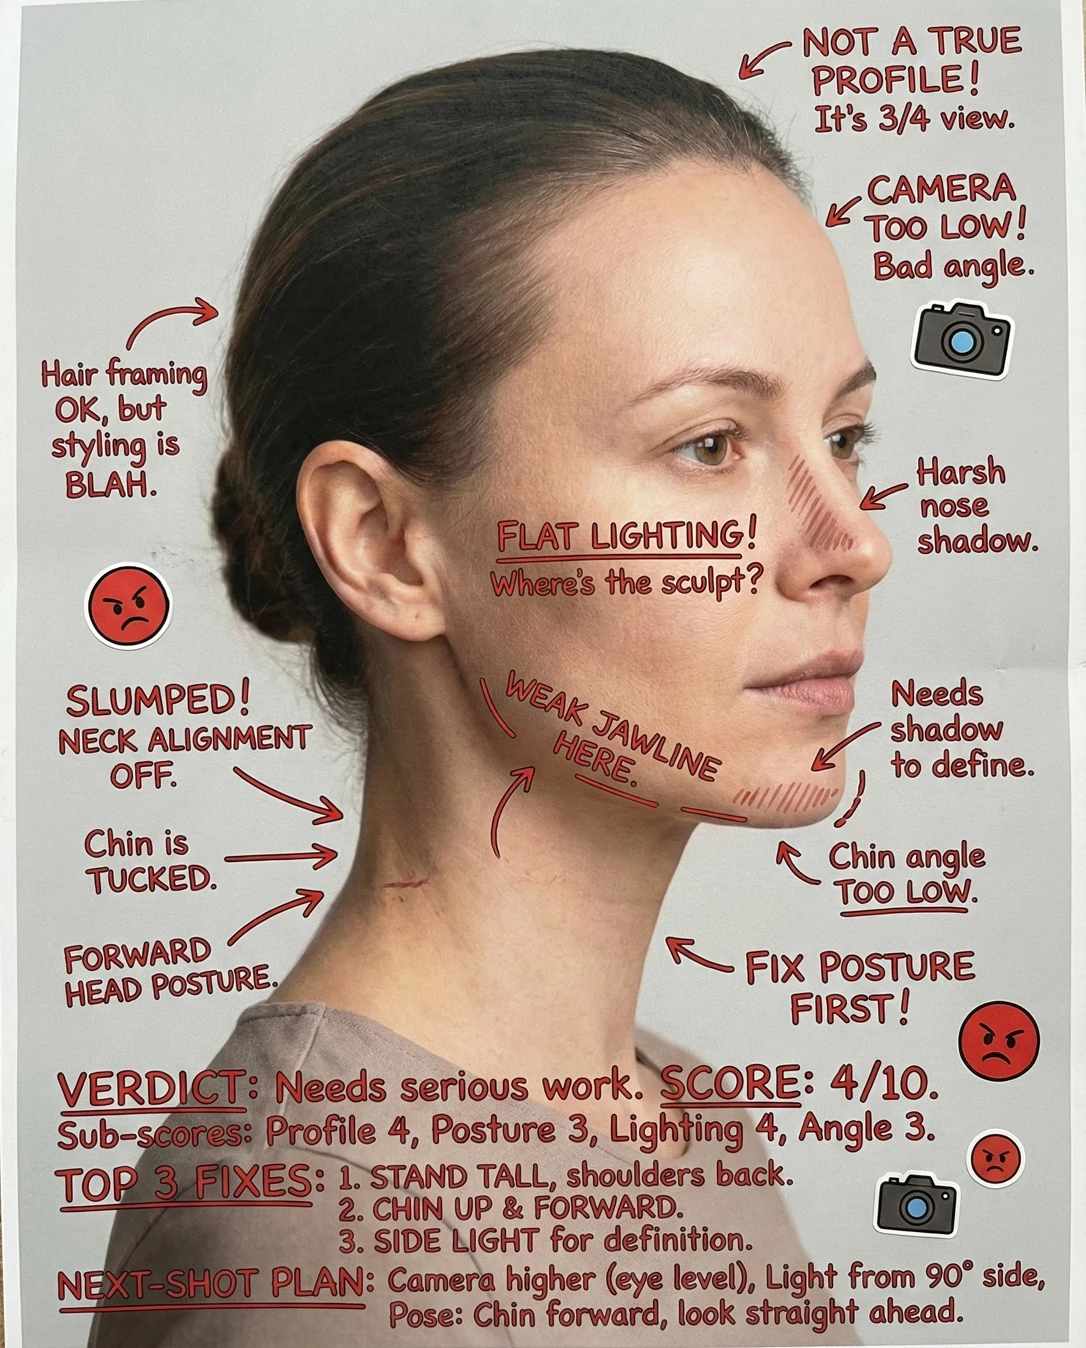
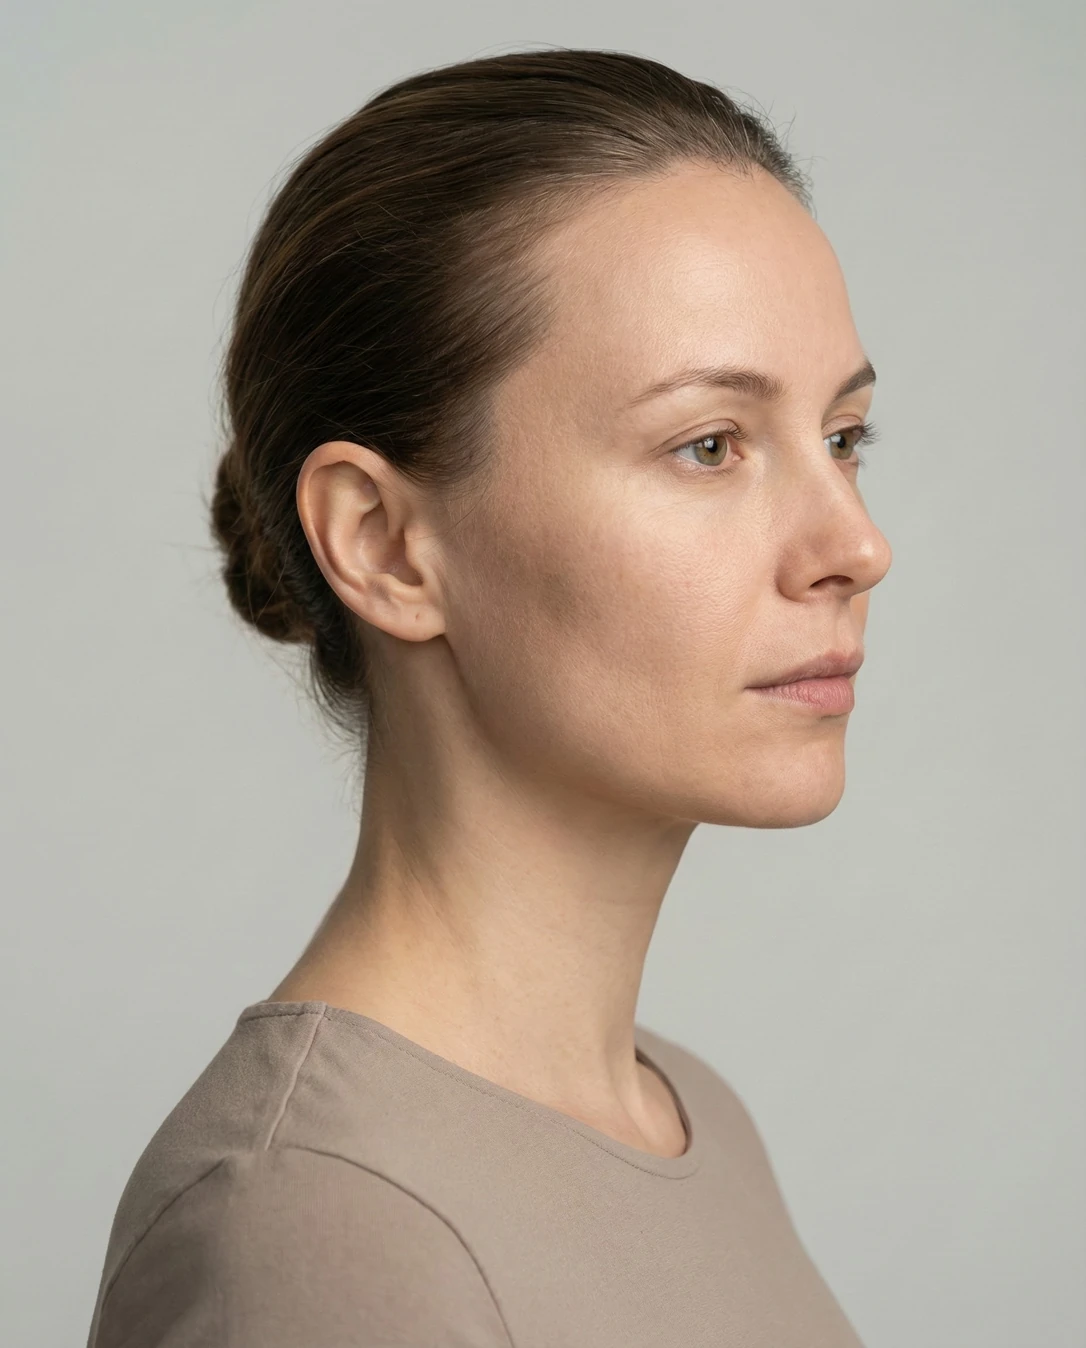
Side Profile Face Rater: Doodle notesSide Profile Face Rater: Your photoYour photoDoodle notes
Drag the divider — or use arrow keys — to wipe between the original upload and the annotated result.
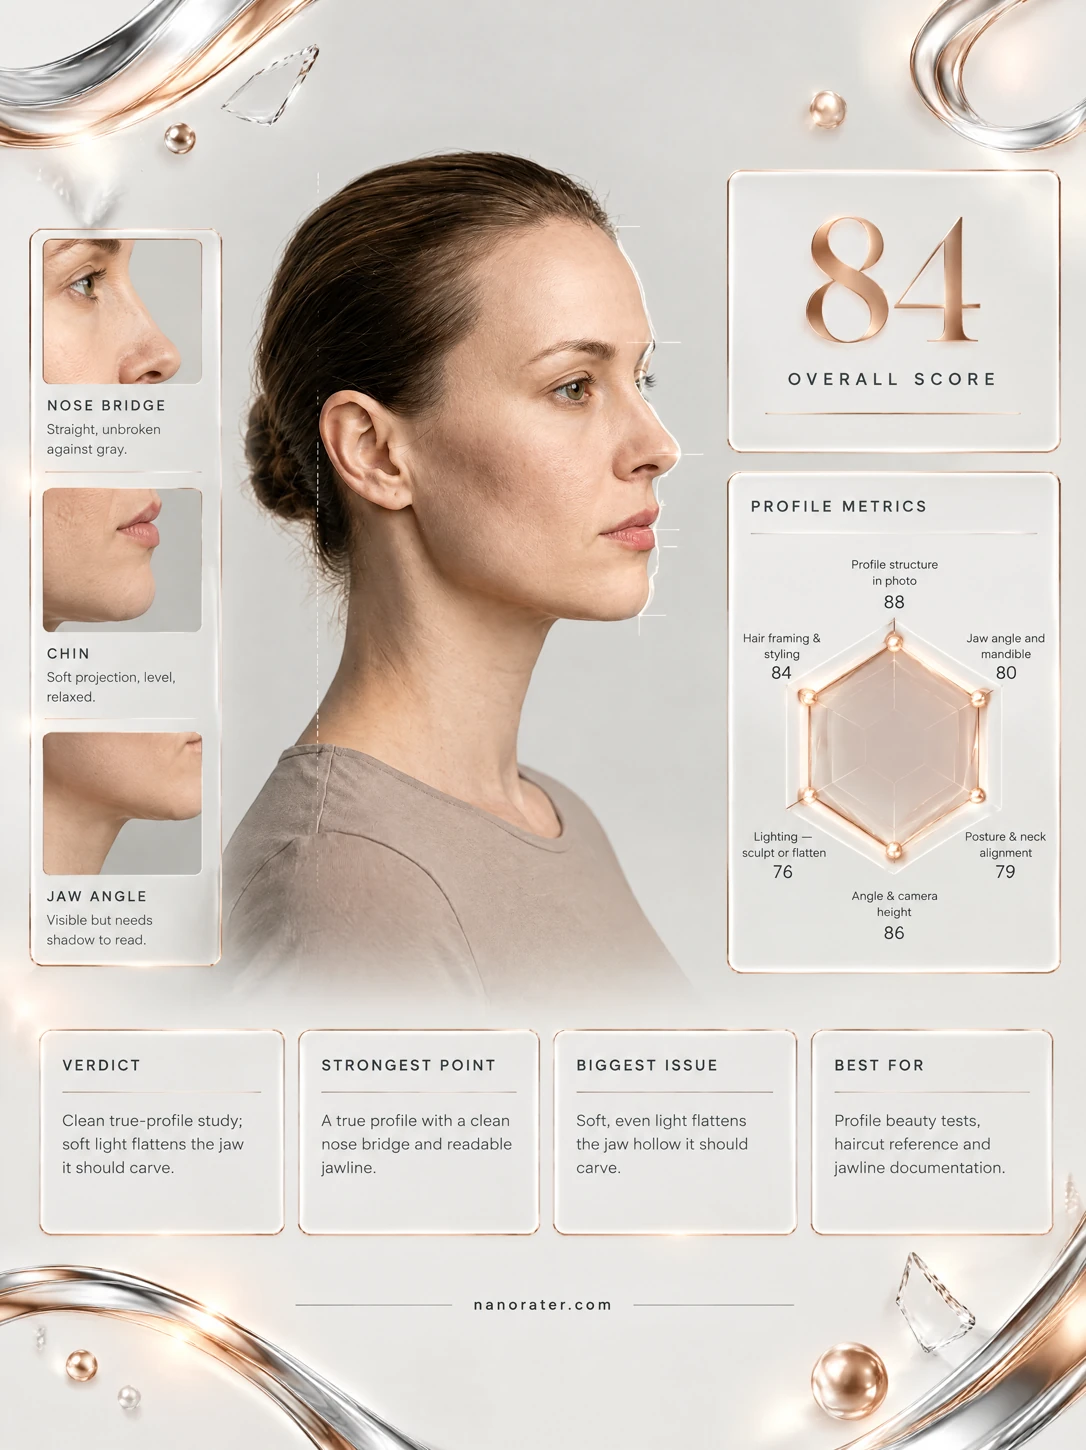
Side Profile Face Rater: Professional card
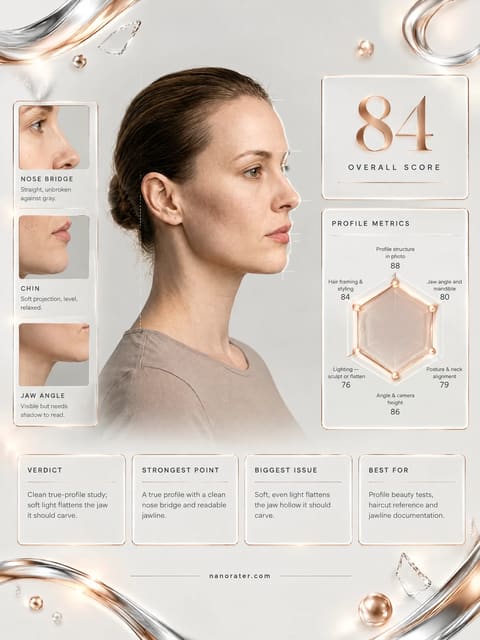
Professional cardA clean, shareable report card built from the same photo

A real report, captured

This is a clean, quietly confident profile study — the silhouette does all the talking, the posture holds up beautifully, and one small lighting nudge would pull that jawline right out of the gray and make it sing.

85/ 100
Potential
93

Where this photo works

Genuinely excellent for what it is: a profile-and-jawline reference shot, a casting polaroid, a stylist or grooming work-in-progress frame, or a before/after baseline for hair and skin work. It also holds up as a calm, editorial beauty frame in a minimal portfolio. Where it works least: as a warm personal avatar or a lively social-profile photo — the neutral expression and clinical head-and-shoulders crop read as documentation rather than invitation, and the even studio light loses the spark that small-format personal photos need.

Quickest fixes

  • Chin forward about a centimetre, then down a whisker — shoulders dropped and rolled back.
  • Add a black card just under and behind the jaw-neck junction for a deeper jaw shadow.
  • Turn roughly 5° further away from camera so only one eye reads.

Retake plan

  1. 1.Camera: tripod at eye height or at most 5 cm below, 85–135mm equivalent, 1.5–2 m from subject, sensor plane parallel to the profile line — no tilt, no low hero angle.
  2. 2.Pose: stand tall with weight on the far leg, shoulders level and dropped; chin level, then forward 1 cm and down a touch; arms relaxed and hands out of frame.
  3. 3.Angle: rotate 5° further away so the far eye is fully occluded and one eye reads; confirm the nose tip and lips clear the cheek contour without merging.
  4. 4.Key light: softbox 45° behind and above the far shoulder, feathered to graze the cheekbone and jaw; white bounce on the near side at roughly one-third power to hold shadow detail.
  • Profile Silhouette Structure87

    Forehead-to-bridge transition is smooth with a slight, natural dip at the nasion; the bridge runs straight with a restrained tip projection, the philtrum and upper lip sit back slightly from the nose tip, and the chin projects to roughly the same vertical plane as the lower lip with a soft labiomental fold. The whole contour reads continuous, with no competing line breaking the edge.

  • Posture & Neck Alignment88

    The head sits directly above the shoulders with no forward-head drift; the cervical line is long and vertical, the shoulders are level and relaxed, and the ear sits roughly over the mid-shoulder in the profile axis. There is no scrunch at the nape and no chin tuck or lift that would shorten the neck.

  • Lighting Sculpt & Shadow Control80

    A broad, well-diffused key sits near the camera axis, producing even, flattering skin rendering and only a soft shadow under the jaw and behind the ear. There are no harsh nose or mouth shadows, but by the same token the cheekbone plane and the jaw underside are barely differentiated in value, so the face reads wide and flat rather than carved.

  • Angle Purity & Camera Height84

    This is a near-true profile: the nose, lips and chin define the silhouette cleanly and the far eye is essentially hidden by the bridge, though a sliver of the far lash-line and brow tail suggests a small residual turn of roughly 5–10°. Camera height sits level to marginally below the eye line, which reads as natural rather than looming.

  • Hair Framing & Grooming90

    Hair is swept cleanly back into a low, compact bun at the nape, fully exposing the ear, the temple and the entire jaw contour. The hairline edge is tidy with no strands crossing the profile line, and the exposed ear gives the viewer a reliable anatomical anchor for judging the profile.

  • Background & Subject Separation86

    A smooth, neutral seamless reads roughly one stop below the skin value, so the face edge separates cleanly without competing for attention. Falloff toward the lower left is subtle and even, and no seam, stand or shadow of the light appears in frame.

  • Framing & Nose Room85

    Head-and-shoulders crop places the face in the left-center of the frame with generous space ahead of the nose in the direction of gaze, and the shoulders bottom out cleanly inside the frame without awkward cropping through the neck. The composition reads deliberate rather than accidental.

  • Expression & Moment78

    The expression is composed and neutral — mouth closed with a relaxed lower lip, gaze forward and level, brow flat. It is perfectly serviceable for documentation but holds no micro-expression or held breath of life, so the frame reads as a test rather than a portrait.

  • Skin & Texture Rendering84

    Skin renders with natural texture and visible pore detail, healthy warm undertone and no clipping in the highlights across the forehead or cheekbone. There is a soft sheen on the cheek plane but no blown specular hotspots, and the neck and jaw hold even value throughout.

What works

  • Profile contour is uninterrupted and easy to read

    Nothing crosses the face edge — no hair, collar, earring or shoulder — so the nose, lips and chin register against the seamless as one continuous line.

  • Posture reads tall without stiffness

    Shoulders level, neck long and vertical, no forward-head drift, and the head balances over the shoulder rather than jutting ahead of it.

What holds it back

  • Directional light is underused on the jaw and cheek

    Key near the camera axis leaves the cheek plane and jaw underside at nearly the same value, so the face widens rather than gains depth; the neck shadow is soft and short.

  • Residual turn keeps it just short of a true profile

    A sliver of the far lash-line and brow tail is still readable, which softens the precision of the side view for structural reading.
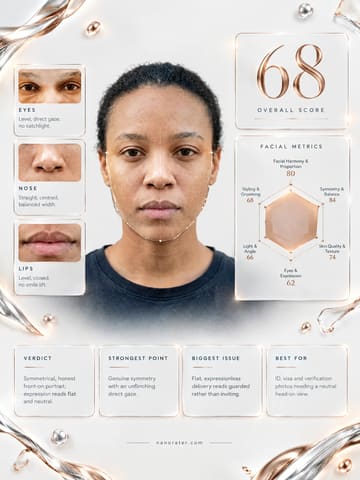
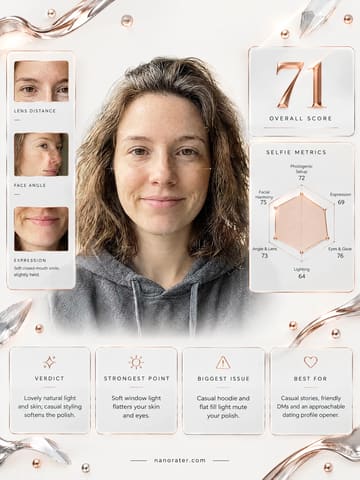
Generated by the live pipeline from the example photo above — a real report, unedited. Your report is written about your photo, in your language.

What this tool does

Side profiles are the honest angle — jawline, nose line, neck posture, and ear placement all naked without the forgiving geometry of a front-on shot. They're also technically hard: side light models a face beautifully or carves it into shadow. This side profile face rater evaluates the true 90-degree and three-quarter views, separating what's anatomy (nothing to fix, and nothing wrong) from what's photography (light, posture, camera height — very fixable).

A side-profile rating is most useful as a photograph review. It can help you notice where a silhouette becomes hard to read, which part of the image draws attention, and what to change on the next shot. It cannot determine how everyone sees you in person, measure the dimensions of your face from one image, or decide whether you need a cosmetic procedure.

A true side view and a three-quarter portrait answer related but different questions. In a side view, the outline carries much of the photograph. In a three-quarter view, the visible eye, cheek and expression contribute more to the impression. Choose one view for a comparison and keep it consistent. A score change after changing the view is not evidence that your face has changed.

Begin with the report’s most concrete observation. If a dark background hides the jaw, move or change the background. If the light loses the outline, adjust the light. If the report identifies a stable facial feature, that does not create an obligation to fix it. The useful next step is usually a photographic choice you can test, with the same preset and one small change.

  • A true profile or clear three-quarter turn — 45° muddles both views.
  • Light coming from 45° in front, not behind or straight above.
  • Chin level and spine tall; forward head posture kills profiles.
  • Far eye and brow visible enough to read expression.
  • Hair arranged so the jawline isn't buried.
  • Background with contrast against your silhouette.

Side profile vs front profile: why the scores differ

A front-on photo is judged on facial thirds, symmetry, and how the features balance; a profile is judged on the silhouette — jawline angle, chin projection, nose bridge, and neck posture — that a front view mostly hides. Because the two rubrics measure different things, the same person's front and side photos often land noticeably apart. That gap describes the two photographs, not a change in you — and the profile factors are largely photographic, so camera height, head position, and light direction move a side-profile score more than anything else.

What is a good side profile?

There is no single correct side profile. People usually mean a profile that reads clearly and in balance: a forehead, nose and chin that sit in a smooth, continuous line, a chin that neither disappears nor juts out, a jaw with a visible edge, and a neck that holds the head up instead of pushing it forward. Which proportions look best varies between people, across cultures and with fashion.

What a photo adds on top of anatomy is just as important. Light from about 45° in front draws the jaw and nose line, flat or overhead light erases them, and a head pushed forward or a chin tucked down changes the outline more than most people expect. That is why this side profile rater rates your profile while accounting for the photo, and why two shots of the same person can land a few points apart.

Side profile analysis: the measurements people mention

Search for “side profile analysis” and you will meet a handful of clinical measurements. They come from orthodontic and plastic-surgery planning, where they are taken from standardised lateral photographs or X-rays. This tool does not calculate them. Here is what each one means, so you can read the terms.

Nasofrontal angle

The angle between the forehead and the nose bridge at the dip between the brows. Textbooks quote a broad range, often around 115° to 135°, and it varies with the person and the source.

Nasolabial angle

The angle between the underside of the nose and the upper lip. It describes how much the nose tip points up or down, and published normal ranges differ by sex and population.

E-line (Ricketts)

A line from the nose tip to the chin tip, used to judge how far the lips sit in front of or behind it. Norms are small distances in millimetres and have shifted over time with changing tastes.

Chin projection and facial convexity

How far the chin sits forward of the forehead and upper lip, which decides whether a profile reads straight, convex (chin back) or concave (chin forward).

Gonial (jaw) angle

The angle where the jaw turns up under the ear. Larger angles read softer, smaller ones sharper, and the visible edge depends heavily on light and on body fat.

Neck and head posture

Not an anatomy measurement at all: forward head posture, chin height and camera height change how all of the above appear in a single frame.

Selfies are a poor source for these numbers: a close, wide-angle lens enlarges the nose and shrinks the chin, and a tilted head moves every angle. Treat any website that gives you exact degrees from a casual photo with caution. A side profile rating is more honest as a photo review: what in this image makes the silhouette easy or hard to read, and what to change on the next shot.

What a side profile rating cannot tell you

It rates your profile as this photo shows it. Light, lens distance, posture and hair change the result, a single frame cannot show how you look in motion or in person, and AI scoring can be biased and can vary by a few points between runs. It is not medical, orthodontic or cosmetic advice, and a lower score is almost always a photo problem you can fix with a retake. If the number weighs on you, close the tab and try again another day, or ignore it.

References

  • Arnett, G. W., & Bergman, R. T. (1993). Facial keys to orthodontic diagnosis and treatment planning, Part I. American Journal of Orthodontics and Dentofacial Orthopedics, 103(4), 299–312.

Understand each tool parameter

The preset: what question the report answers

The page you entered is already a preset. Side Profile Face Rater asks about a profile photograph; AI Attractiveness Test asks how a portrait comes across. Both use the same upload, analysis and result workspace. The preset changes the evaluation brief and report presentation, rather than sending you through a different product.

Start with the entrance that matches the photo you actually have. A profile photo cannot reveal both sides of a face, and a close portrait cannot establish whether an outfit works from head to toe. Changing the entrance changes the question; it does not add information that is absent from the uploaded image.

Photo input: the evidence behind every observation

Use a clear photograph that represents the situation you want help with. The visible frame is the evidence: lighting, expression, posture, crop and styling can all affect the result. A different photo of the same person can therefore produce different feedback. Read a score as a response to this image, rather than a permanent measurement of the person.

Keep the unedited original when comparing retakes. If you change the lighting, crop, pose and filter at once, you cannot tell which change helped. A useful experiment keeps the person, preset and analysis mode consistent, changes one photographic choice, and compares the evidence and suggested actions before looking at the number.

Professional, Doodle and Face Off: choose the deliverable

Professional opens the report-card workflow. Choose it when you want organized feedback and a visual summary. Doodle uses an annotated image to make observations easy to locate and share. Face Off accepts two photos for a comparison. It answers a different decision: which of these visible presentations works better for the chosen question?

These modes are output choices, not promises of scientific accuracy. A polished report card and a playful annotation both depend on the submitted image. A generated visual can fail separately from the text analysis; if the analysis has completed, use its observations while retrying the missing visual instead of immediately submitting a new rating.

Persona: the voice you want to hear

In Doodle mode, a persona changes the perspective and wording of the critique. Professional and Face Off use their own persona-free evaluation. The side-profile entrance starts with the photographer persona because the practical question is usually how angle, light and posture affect a silhouette. You can choose another available persona in the same workspace. A supportive voice may be easier to act on; a fashion-oriented voice may suit a styling question.

Personas are AI presentation options. They are not consultations with real professionals, and selecting a photographer does not turn the result into an anatomical measurement. If two personas use different language, look for the same visible evidence underneath it. Change the persona to find a useful explanation, rather than repeatedly sampling until you obtain a preferred score.

Tone: delivery, rather than a new evaluation target

In Doodle mode, tone controls how directly the feedback is delivered. Professional and Face Off do not use this control. Pick a tone you can comfortably read and use. The practical goal is to understand a visible observation and take a small next step, not to endure harsher wording in exchange for a supposedly more truthful verdict.

Keep tone fixed when comparing two retakes. This helps you separate a change in wording from a change in the photograph. If the critique feels vague, check whether the image shows the feature clearly and whether the preset matches your question before changing the tone.

Ink: the appearance of an annotation

Ink selects the annotation color for Doodle output. It affects how the marks appear over the photo; it is not a scoring parameter and does not improve the quality of the underlying evidence. Choose a color that remains legible against the background and clothing.

A Professional report does not need a different ink selection to analyze the photo. Treat ink as a visual preference, and mode as the choice of deliverable. Keeping those controls separate makes it easier to repeat an experiment without accidentally changing the question being asked.

Four failure cases and how to resolve them

1. The image does not show a readable profile

Symptoms include feedback that discusses the visible eye or front of the face more than the silhouette, a jaw hidden by hair or a collar, or an outline that blends into the wall. The photo may be a perfectly good portrait while still being weak evidence for the specific profile question.

Retake at a consistent side or three-quarter angle with the camera near face height. Move hair or clothing only if you want the covered feature reviewed. Stand apart from a simple background and inspect the image at ordinary phone size: can you follow the outline without zooming? Submit only when the photograph actually shows what you want evaluated.

2. Camera position or posture changes the apparent proportions

A nearby wide-angle camera, a low viewpoint or an exaggerated chin lift can change how the nose, chin and neck relate in the image. A report responding to those visible proportions is not measuring your anatomy. Do not interpret a single distorted frame as proof of a permanent facial problem.

Move the camera farther away, keep it near face height and use a relaxed position you can reproduce. Avoid forcing a pose solely to chase a number. Retake once with the same angle and lighting, then compare whether the report’s evidence has become clearer. If the question concerns anatomy or health, the photo tool is not the right evaluator.

3. Light or processing hides the detail the report needs

Backlight can turn the face into a silhouette with no readable detail; overhead light can deepen shadows; sharpening, smoothing and filters can invent edges or erase texture. These effects can make an otherwise familiar face look unusually different in a still photograph.

Try soft light from in front and slightly to the side. Keep the original image and avoid aggressive processing for the test. Compare shadow placement, visible contour and background separation rather than assuming brighter always means better. Change the light first and leave posture fixed, so the retake tests one thing.

4. The scan or visual output fails to finish

A network error, an upload failure, a failed analysis and a failed generated image are different states. Check the workspace message before submitting again. If the photo never uploaded, select it again and retry the upload. If text feedback is already available but a visual artifact is missing, use the relevant visual retry action.

Keep the completed result open while checking your connection or returning from sign-in. The shared workspace supports restoring a pending photo across an authentication return, but browser storage can be unavailable. If you must reselect the file, keep the same original and parameters so a technical retry does not become a different comparison.

How to use it

  1. 1Upload your profile shot — true side or three-quarter.
  2. 2Get dimension scores for jawline definition, posture, and light modeling.
  3. 3Read which photographic factors are flattering or flattening you.
  4. 4Adjust light angle, posture, and camera height per the fix list.
  5. 5Re-rate the retake to isolate real improvement.

Scoring rubric

Profile & jawline

How the forehead-to-chin line reads in profile: the continuity of the nose bridge, how far the chin projects, and the gonial angle where the jaw turns under the ear. This silhouette is what the side view is about — and light direction changes how sharp or soft it reads more than anatomy does.

Facial harmony

How the features balance when symmetry is out of play: the midline relationship of brow, nose, and lips, and whether the visible eye reads calm in a view that hides the other one.

Light & color

Profile lighting is about direction, not brightness. Light from about 45° in front models the jaw and nose line; flat frontal light erases them. Skin tone should read natural, without hot spots on the cheek or nose.

Posture

Neck alignment, forward head posture, and chin level decide how much jaw definition survives the shot. Camera height belongs here too: shooting slightly below eye level lengthens the neck line, while shooting down from above shortens it.

Who it's for

  • People who've been told they're 'more attractive in person' — angles lie.
  • Anyone building a modeling or acting portfolio needing profile views.
  • Barber-shop or hairstyle decisions visible only from the side.
  • People practicing posture and its photographic payoff.
  • Curious souls comparing front vs. side ratings honestly.

Who it's not for

  • Anyone seeking orthodontic or surgical assessment — not medical advice.
  • Photos shot past 45°, which are really three-quarter views.
  • Anyone looking for a medical or surgical assessment. This rates how your profile reads, not whether anything needs fixing.

Do and don't

Do

  • Do shoot against a window at 45° for natural face-sculpting light.
  • Do roll shoulders back and crown the head up before the shutter.
  • Do rate both sides — faces are asymmetric and one photographs stronger.

Don't

  • Don't shoot flat overhead light; it erases the jawline entirely.
  • Don't tuck the chin — it creates a double chin that isn't there.
  • Don't compare your side score to others' front scores; different games.

Common questions

FAQ

Most faces are asymmetric. Rate both sides in identical light — the stronger side is usually obvious and worth knowing for portraits.

Nanorater

Rate more photos with different personas

Upload one photo, switch the point of view, and iterate on feedback you can use.

AI Disclosure: This tool uses artificial intelligence to analyze photos and provide feedback. Results are for entertainment and educational purposes and should not be considered professional advice.