
A real report, captured
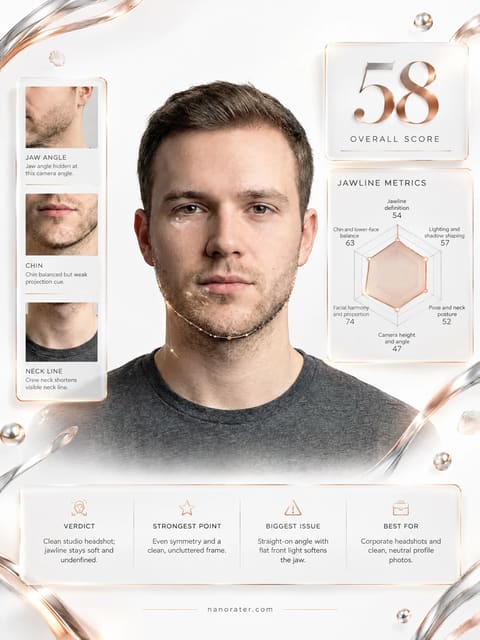
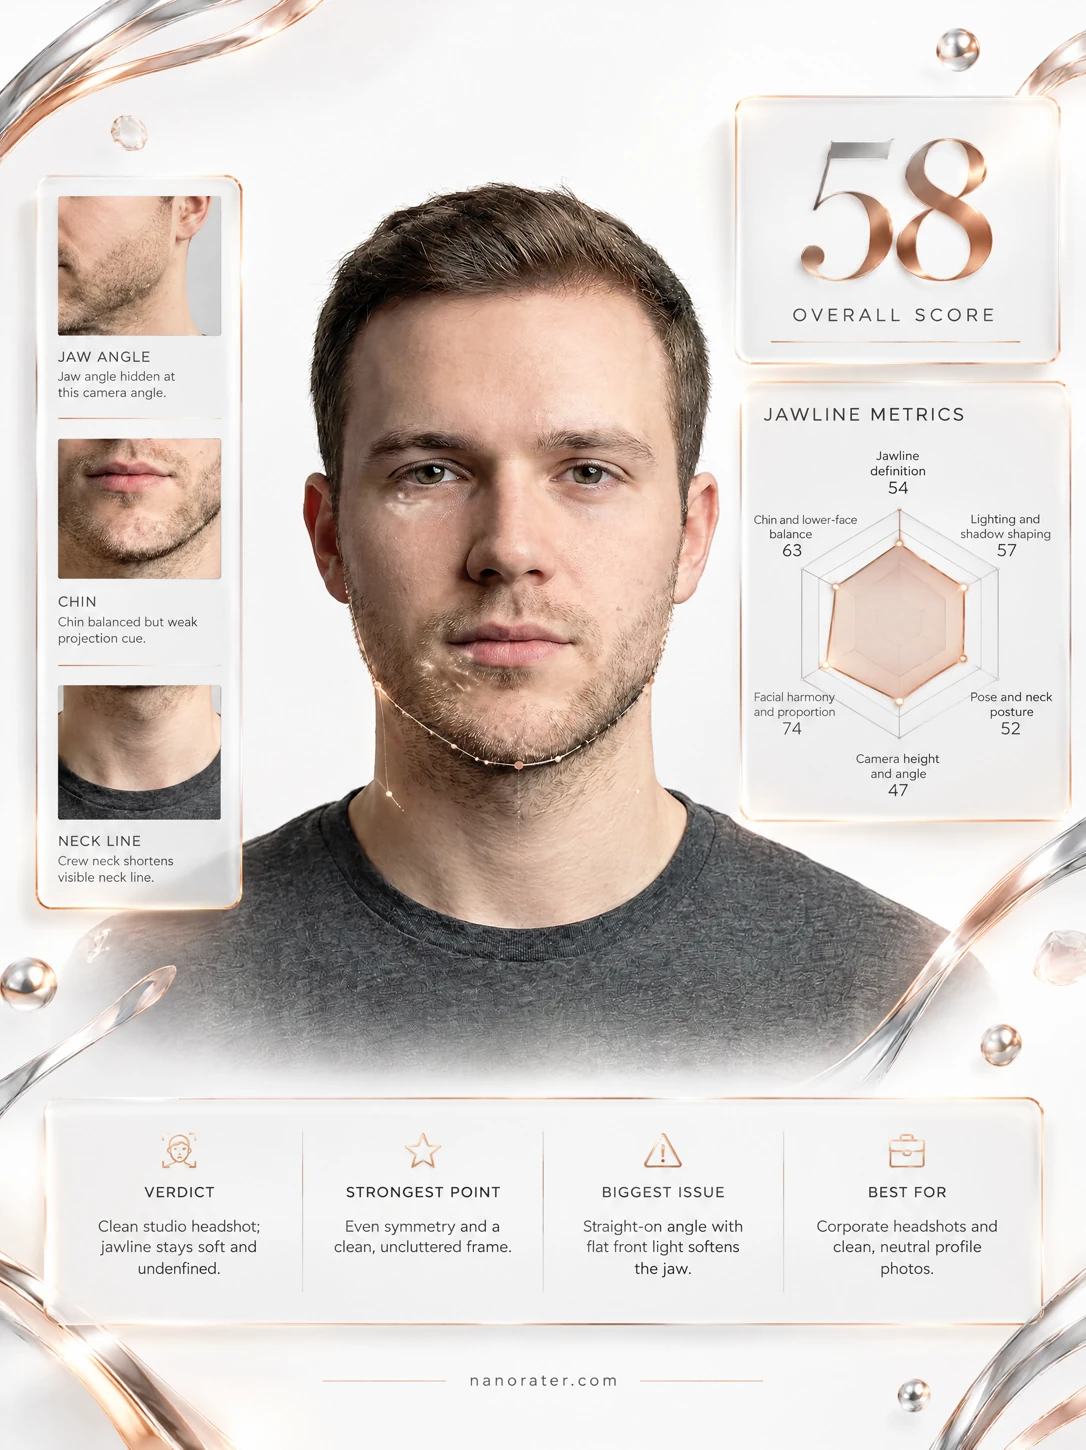
You've got a real jaw under there — a clean studio headshot with a solid mandible line, but the dead-on angle and that perfectly even frontal light let the lower edge melt into your neck instead of drawing it.
Where this photo works
This exact frame is a great fit for corporate headshots, LinkedIn, directory and agency-listing portraits, and any neutral casting card: plain seamless backdrop, tidy styling, zero distraction. Where it underperforms is as a jawline-forward shot or a profile-definition shot — front-on, evenly lit light gives the mandible nothing to grip, and a true profile judge would see almost none of the sideways angle they need. It also reads quiet and remote in a small chat avatar, where the flat light leaves the face little structure at thumbnail size.
Quickest fixes
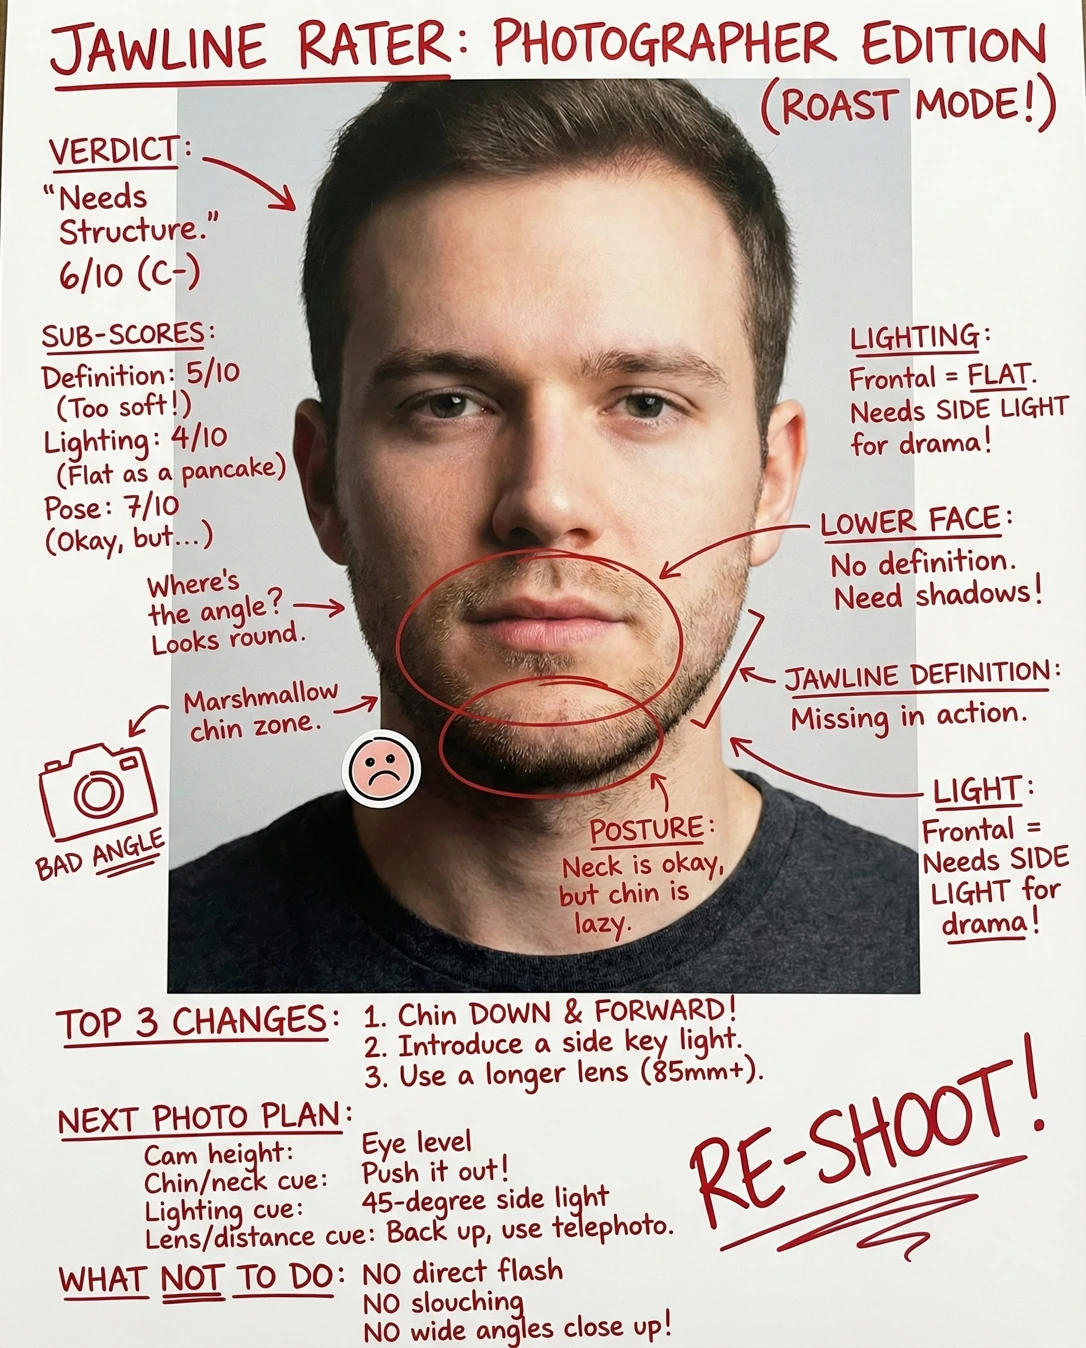
- Turn your shoulders about a quarter-turn away from the lens and rotate only your eyes back — instant visible jaw diagonal.
- Move the light source from dead-front to 45 degrees off to one side and slightly above eye level; leave the far cheek un-filled.
- Project the chin forward about a finger's width and slightly down, and draw the crown of the head upward to lengthen the neck.
Retake plan
- 1.Camera height: place the lens just slightly above eye level and keep the sensor level — no downward tilt of the camera itself. Let the chin angle do the work, not the camera pitch.
- 2.Chin and neck cue: push the chin forward and marginally down, then lengthen the neck by imagining the back of your head rising. Hold that; the chin-to-neck line should look continuous to the collar.
- 3.Body and head angle: rotate the torso 20-30 degrees off-axis, then pivot the head back so the eyes find the lens. This lands you in a three-quarter turn with both eyes visible but the gonial angle projected as a diagonal.
- 4.Lighting cue: one soft key at roughly 45 degrees off-axis and slightly above eye level, with the shadow side left un-filled or barely bounced. Check that a defined shadow runs down the far side of the jaw and under the chin.
- Jawline Definition in Photo66
A mandibular border is present and the gonial angle is visible on both sides, but the edge-to-neck value contrast is low: front-on framing projects the jaw edge-on rather than as a line, and the soft under-chin shadow gives the lower border little separation. The chin is full and rounded with moderate projection; the line softens markedly into the neck on both sides.
- Camera Angle & Perspective58
Straight-on, camera at approximately eye level with eyes just above frame center — the least flattering angle for a jaw because the mandible is seen face-on with no turn. No upward distortion is present (forehead is not oversized, ears are not widened), so the lens-to-subject distance is decent, but the axis gives the jaw nothing to silhouette against.
- Lighting & Modelling60
The measurement reads as lighting from front — the key is essentially on-axis and broad, producing near-symmetric illumination across both cheeks with no falloff on either side. The under-chin shadow is faint and diffuse, so the jaw-to-neck transition has minimal tonal separation. Complexion is rendered cleanly and evenly with no color cast, which is a genuine strength of the setup.
- Neck Position & Chin Projection59
Head is level and square to the camera with no tilt; the chin sits in a neutral, slightly retracted position and the neck reads wide, with the jaw border and neck merging at similar values. Chin projection is moderate rather than projected forward. The crew-neck collar sits high and horizontal across the throat, cutting the neck line short.
- Grooming & Beard Framing66
Light stubble covers the jaw, chin and upper lip in a fairly even density, with a slightly stronger patch at the chin. It adds attractive shadow to the lower face but the perimeter edge along the mandible is unrefined and soft, which blurs the exact line a jawline shot wants crisp. Cheek and neckline boundaries are not sharply established.
- Lower Face Proportion74
Chin width is proportionate to the mouth, the lower third sits in reasonable balance with the mid-face, and you have a full lower lip with a defined philtrum. The lower face is not over-long or over-short; the softness is in shadow and angle rather than in actual structure.
- Facial Harmony & Symmetry76
Strong bilateral symmetry across the eyes, brows and mouth; the brow line is well-defined and sits in good proportion to the eyes; the nose is straight and centered with no lens-induced widening. The expression is closed and neutral, mouth relaxed and even. Overall harmony reads calm and balanced.
- Lens Distance & Crop72
Tight head-and-shoulders crop, subject centered, both shoulders entering the frame symmetrically. Facial features show no wide-angle pinch and no telephoto compression flattening the nose against the cheeks, which suggests a workable portrait focal range. The crop sits close under the chin, which removes room for the neck line to breathe.
- Background & Separation82
Plain light-gray seamless ground with no texture or objects, lit evenly enough to hold a clean mid-to-light tone. The dark charcoal tee separates crisply from the backdrop, and there is a subtle tonal shift behind the shoulders giving mild depth.
- Hair Framing70
Short, side-swept hair with tapered sides, brushed up and back off the forehead, exposing the full hairline. The taper is tidy and the silhouette is clean. The sides are cropped close enough that they do not widen the head, but the cut gets slightly blunt at the temple where it meets the upper face.
What works
- Clean studio craft with no distracting elements
Plain seamless backdrop, centered head-and-shoulders crop, even exposure with no blown highlights or blocked shadows, and no props or background clutter anywhere in the frame.
- Even, flattering skin rendering
Complexion reads natural and clear with no color cast, no harsh specular hotspots on the forehead or nose, and consistent tone across both cheeks.
What holds it back
- Flat frontal light removes the jaw's shadow line
Both sides of the face receive near-equal illumination with no visible falloff, and the under-chin area shows only a faint diffuse shadow, so jaw and neck sit at closely matched values.
- Dead-on angle gives the mandible no silhouette
Both eyes and both brows are fully visible with the face squared to the lens, so the mandible presents edge-on instead of as a visible turning line.