Nanorater2,600+ people have rated a photo

Face Symmetry Rater

AI-rates facial symmetry and balance cues from your photo. Explains what is real vs camera distortion, then gives styling and photo tips to look more symmetrical on camera.
No photo handy? Rate an example:

Example rating reportExample output

AI result

Your personalized report will appear here with clear strengths and practical retake advice.

Free score and summary; free account for the full single-photo report$17.49 once for your Glow-Up Report: AI previews of you with the fixes appliedSee our privacy policy for photo storage and AI processing

What one photo gives you

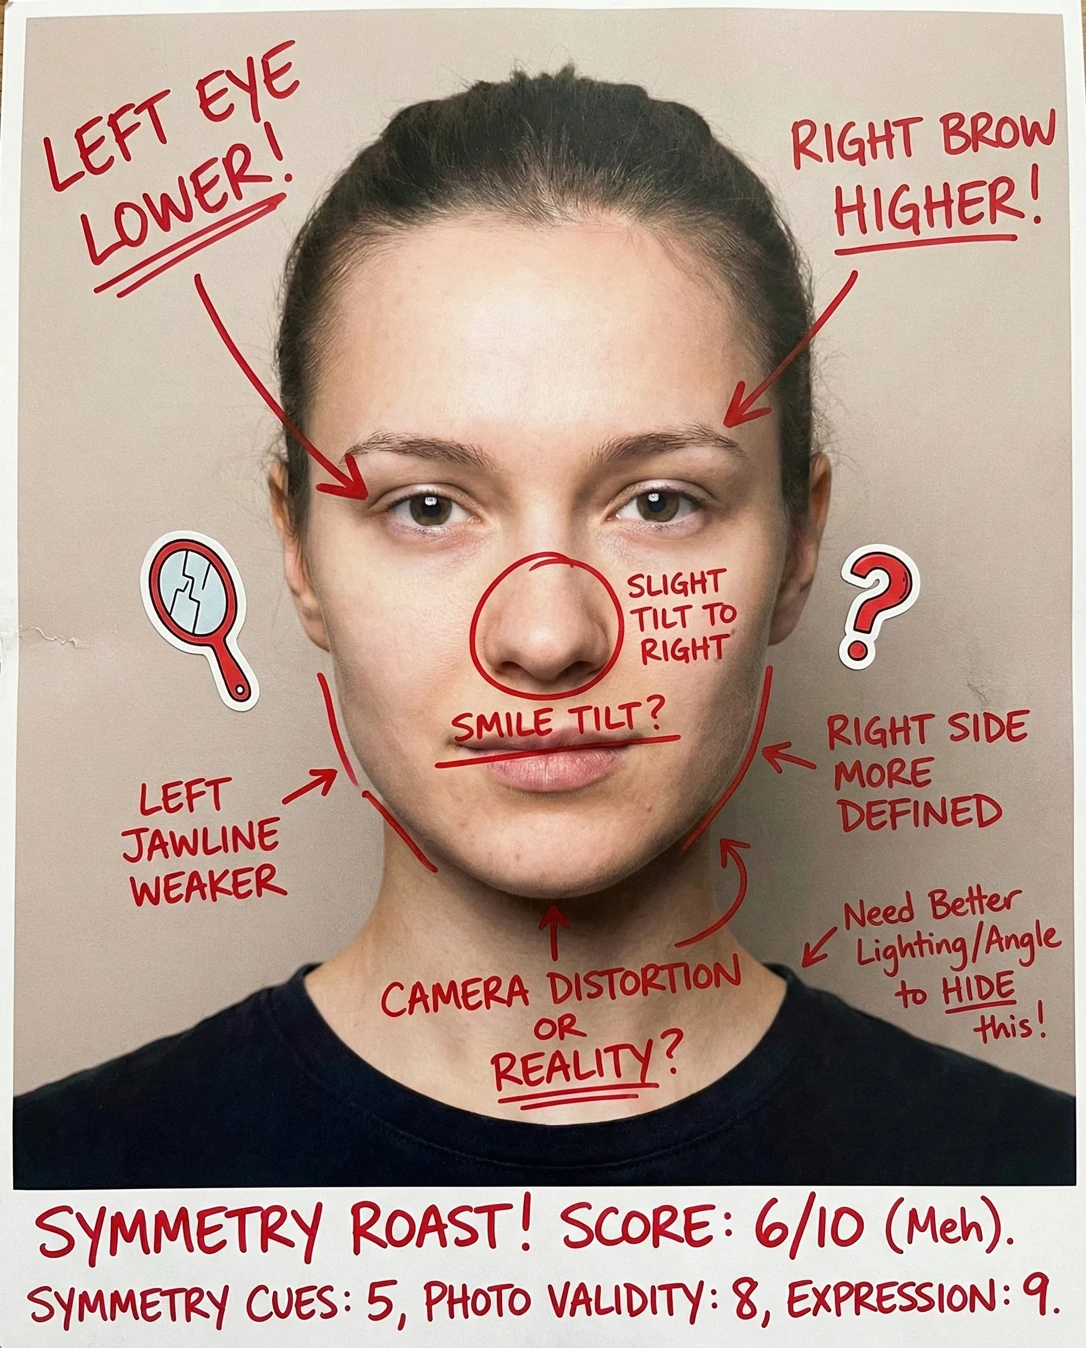
One upload, three deliverables. The annotated notes and the professional card are both built from the same photo, so you can compare them side by side.

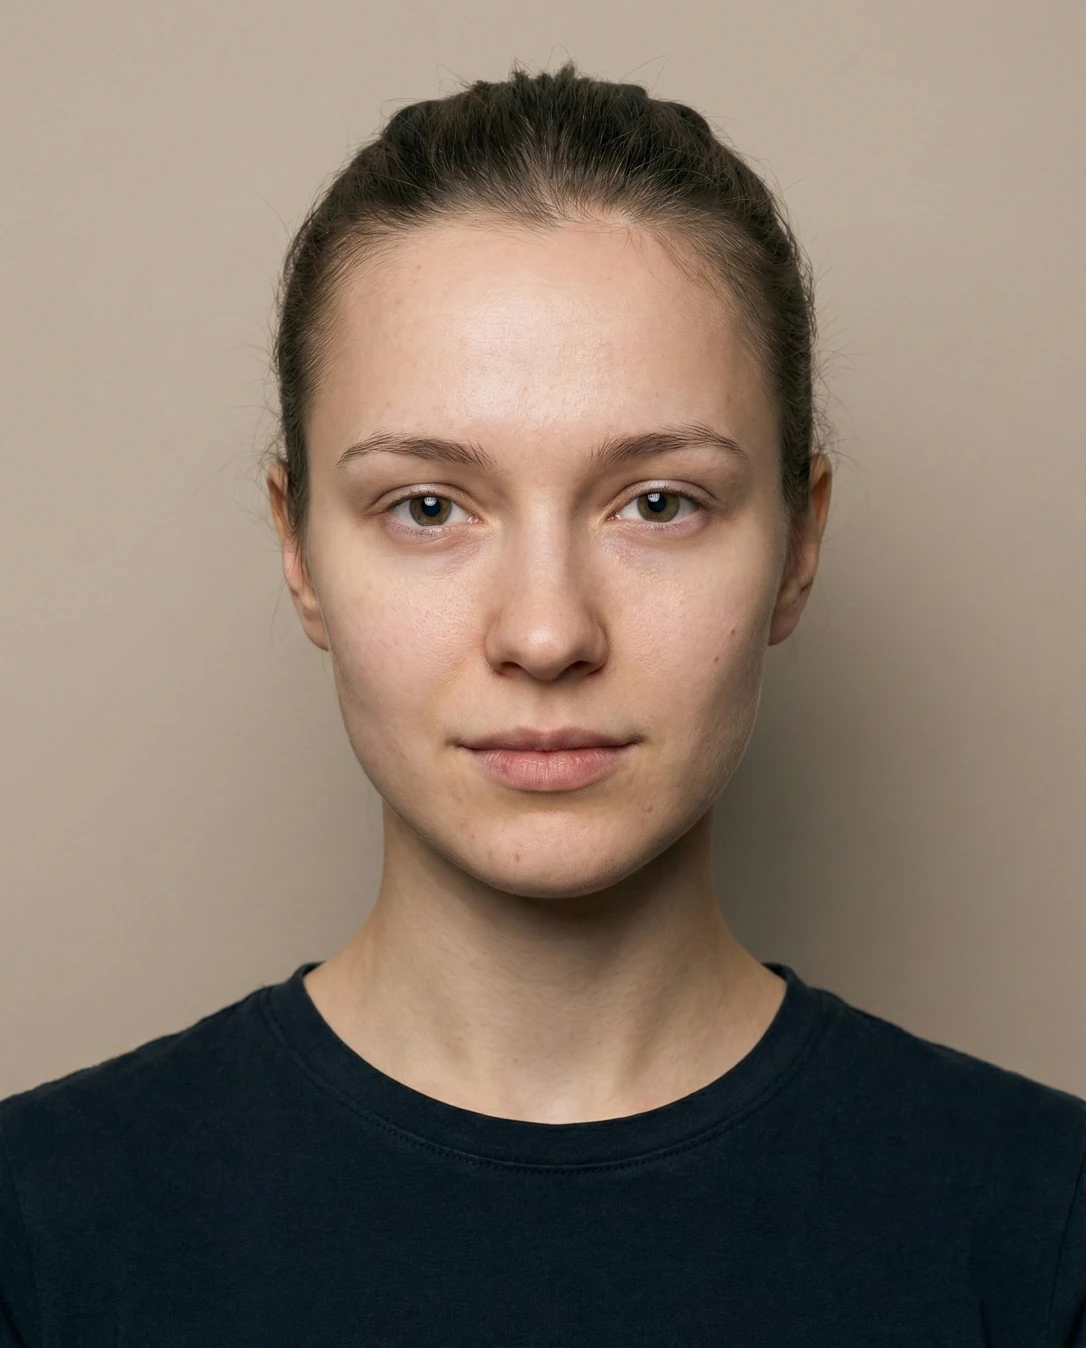
Face Symmetry Rater: Doodle notesFace Symmetry Rater: Your photoYour photoDoodle notes
Drag the divider — or use arrow keys — to wipe between the original upload and the annotated result.
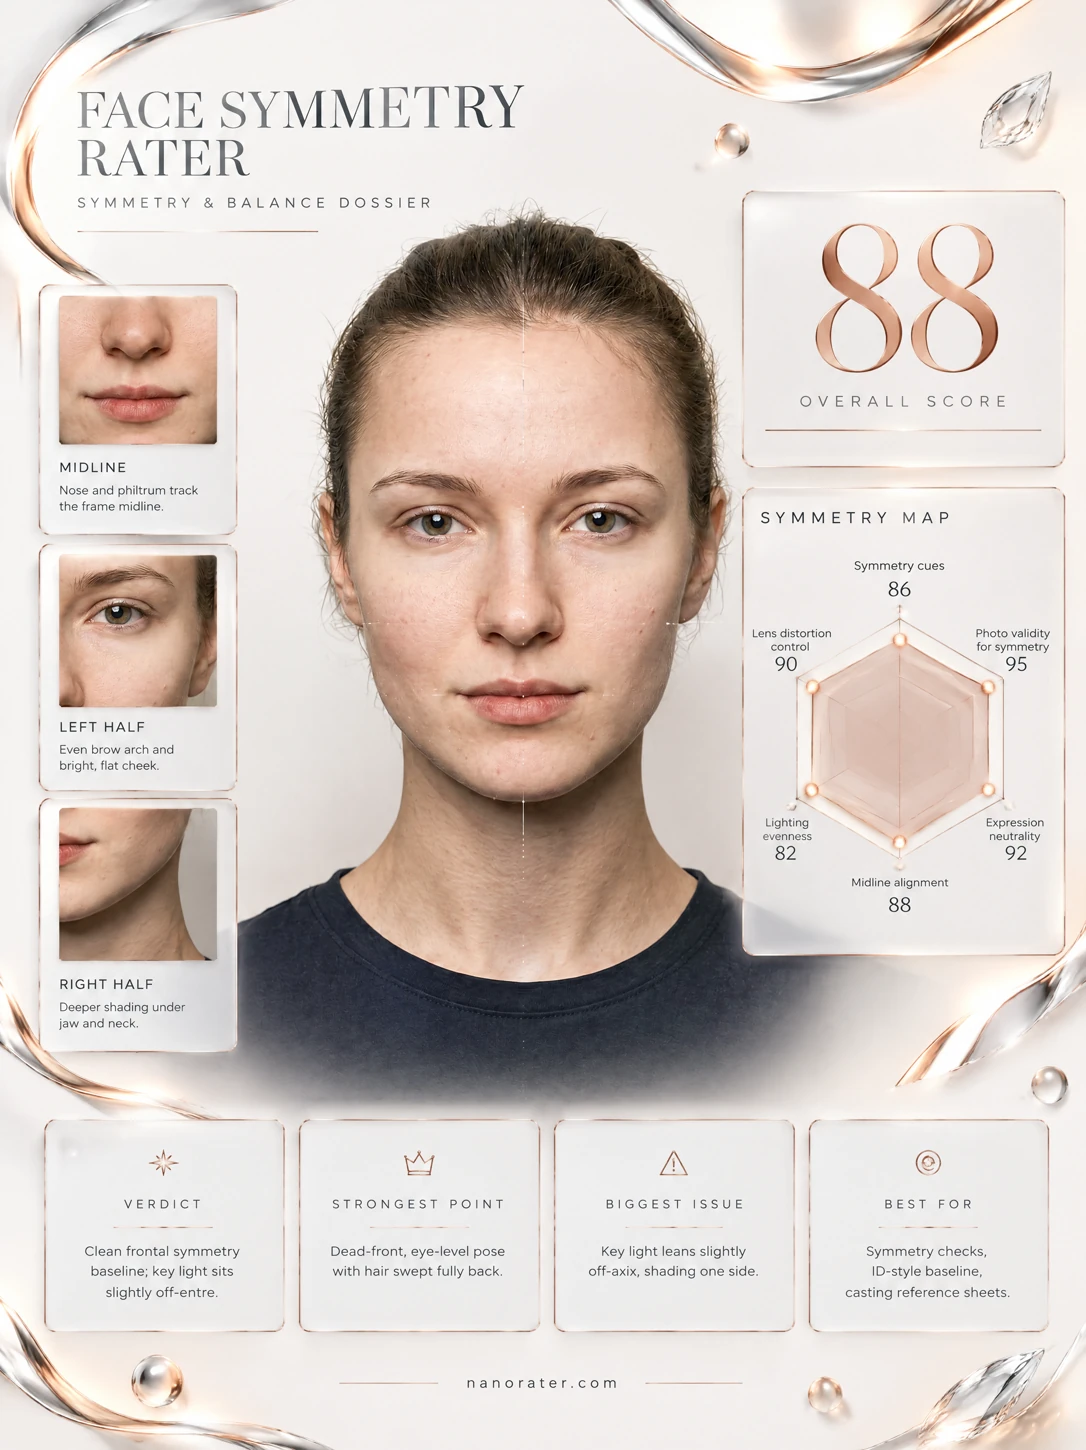
Face Symmetry Rater: Professional card
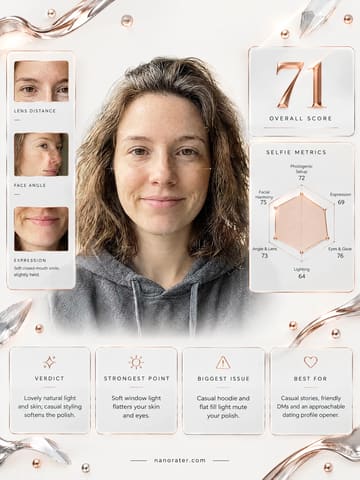
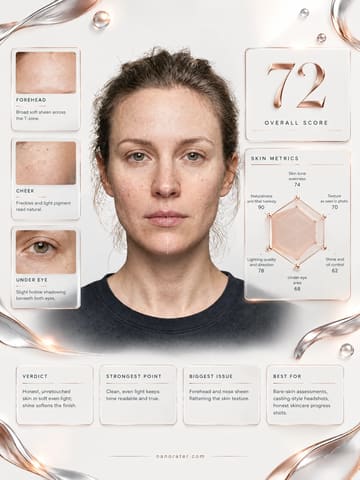
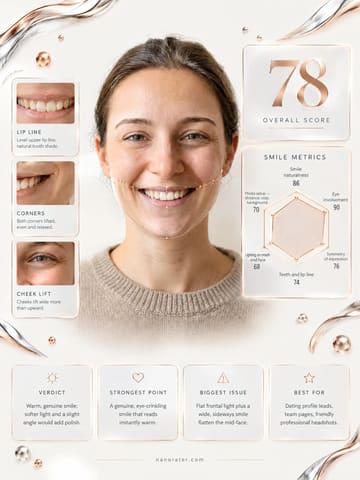
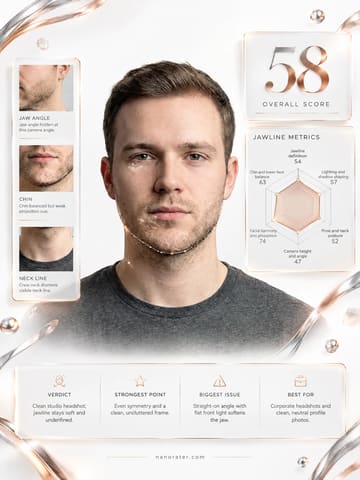
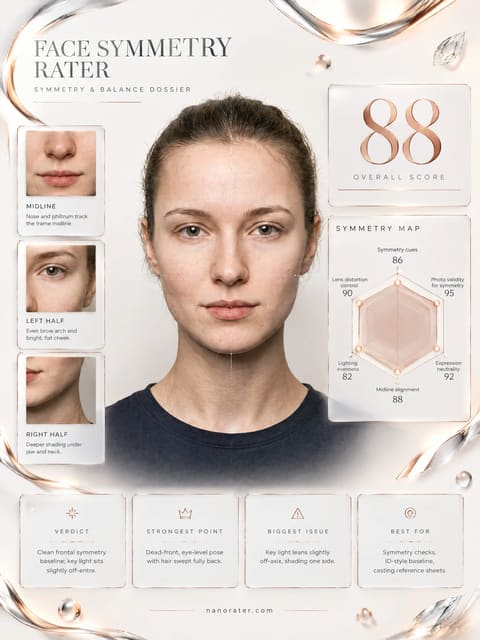
Professional cardA clean, shareable report card built from the same photo

A real report, captured

Okay, you basically handed me the textbook frame for this test — dead-on, eye-level, hair back, plain wall, and a face that actually holds still — so this is a clean read rather than a guessing game, and honestly the number is high because you made the job easy.

87/ 100
Potential
95

Where this photo works

This is a symmetry-reference frame and it does that job properly: passport-style and casting baselines, clinical before/after reference, makeup, brow and grooming consultations, and any tool that needs a straight-on neutral face in even light. It does not work as a warm social profile, a dating-style portrait or a moody editorial — the neutral mouth and flat, controlled light read cool and impersonal next to an expressive alternative, and there is no mood, styling point of view or story for a casual viewer to latch onto. Crop it square and it survives as an avatar, but a chat profile would lose more than it gains from the deliberately clinical register.

Quickest fixes

  • Flip the image horizontally and compare — this separates real structure from lens and lighting artifacts.
  • Set the eye line dead center with a tight head-and-shoulders crop for a cleaner, more comparable read.
  • Lift shadows roughly 5-8 points on the softer side of the face to even the shading without touching structure.

Retake plan

  1. 1.Place the camera on a tripod at exact inner-canthus height so there is no upward or downward angle.
  2. 2.Use a 50-85mm equivalent lens at 1.5-2.0 m distance to keep perspective flat and the mid-face undistorted.
  3. 3.Light with either a single source on the lens axis or two matched softboxes at 45 degrees with identical power and distance, plus a small fill under the chin.
  4. 4.Keep the backdrop plain and check that all four corners read the same tone before shooting.
  • Photo Validity For Symmetry93

    Front-facing, centered, eye level just above frame center, plain background, head-and-shoulders framing, no visible head tilt. Both eyes, both brows and both ears are visible, which confirms a true front-on view rather than a turned one.

  • Eye Line And Lid Balance84

    The pupils sit on an essentially level horizontal line, with gaze directed straight into the lens. Upper-lid exposure differs marginally: one lid covers slightly more of the iris while a fraction more sclera shows beneath the other eye, a difference amplified by the uneven under-eye shading.

  • Brow Height And Arch82

    Both brows are visible and broadly matched in thickness and natural density. The arch apex sits marginally higher on one side and its tail extends slightly further laterally, which tilts the perceived horizontal line across the upper face.

  • Midline Alignment90

    The bridge, the philtrum and the chin point run essentially on a single vertical track in this view, with no measurable deviation of the nose axis and the forehead center sitting close to that line.

  • Jawline And Chin Balance85

    Jaw contours are broadly similar on both sides, with the mandible angle falling at comparable heights. Chin mass reads fractionally fuller on one side of frame, and neck shading shifts with the light rather than with bone structure.

  • Mouth Line And Neutrality86

    Lips are closed and relaxed with no smile, and the lip line runs close to level. There is a very slight drop at one mouth corner, plus a faint compression where the lips meet, both of which are resting tension rather than shape.

  • Perspective And Distortion88

    Nose-to-face proportion looks natural, both ears are visible at comparable size, and there is no wide-angle bulge or foreshortening of the mid-face. The head reads vertical with no roll.

  • Light Evenness Across The Axis80

    Illumination is frontal and soft with a plain, well-separated backdrop. A mild left-to-right tonal gradient remains in the cheek, jaw and neck shading, and the under-eye area shows a slight tonal difference side to side that reads as structure at small sizes.

  • Expression Neutrality92

    Gaze is direct and steady into the lens, brows are relaxed, there is no squint or smile, and the face is relaxed enough to read as a genuine resting state rather than a held pose.

What works

  • True front-on, eye-level camera axis

    Centered subject, both eyes and ears visible, eye line just above frame center, no roll or yaw.

  • Genuine neutral expression with direct gaze

    Closed relaxed mouth, unraised brows, steady eye contact at the lens.

What holds it back

  • Marginal eyelid exposure difference

    One upper lid covers slightly more of the iris with a fraction more sclera visible below the opposite eye.

  • Brow arch and tail mismatch

    One arch apex sits marginally higher and its tail extends slightly further laterally than the other.
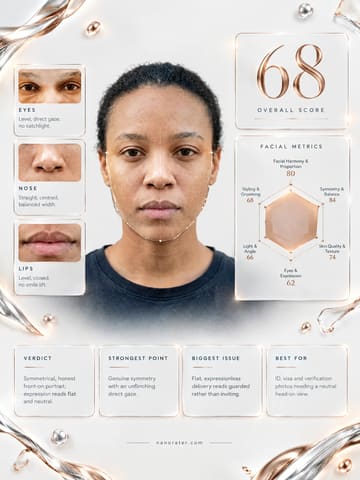
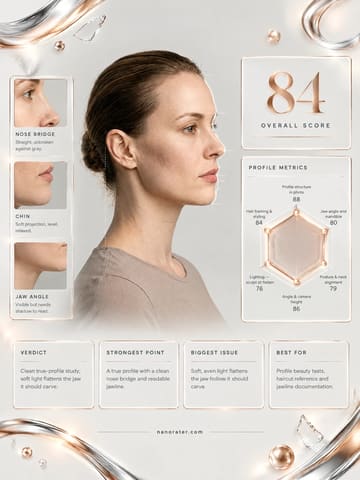
Generated by the live pipeline from the example photo above — a real report, unedited. Your report is written about your photo, in your language.

What this tool does

Here is a secret: perfect facial symmetry does not exist. Every face has natural asymmetries, and that is completely normal. But photos can exaggerate these differences through lens distortion, angles, and lighting. This Face Symmetry Rater helps you understand what is your natural face structure versus what is camera trickery—then gives you practical techniques to achieve a more balanced, harmonious look in every photo without changing a thing about your actual face.

  • Photo is taken straight-on (not angled to one side).
  • Lighting is even on both sides of your face.
  • Camera is at eye level (not above or below).
  • You are not tilting your head (keep it level).
  • Expression is neutral and relaxed.
  • Photo is taken from a moderate distance (not ultra-close).
  • No heavy filters that alter facial proportions.
  • Face is clearly visible and in focus.

How to use it

  1. 1Upload a straight-on photo with even lighting.
  2. 2Review the analysis of natural asymmetry vs camera effects.
  3. 3Understand what is real structure versus distortion.
  4. 4Note the specific asymmetries flagged in your photo.
  5. 5Apply the camera technique recommendations.
  6. 6Experiment with angles that minimize apparent asymmetry.
  7. 7Retake photos using the new techniques and compare.

Scoring rubric

Symmetry & balance

Left/right balance and feature alignment — how evenly the two sides of the face read.

Facial harmony

Proportions and how the face divides into pleasing thirds — the overall composition of the features.

Light & color

How the light flatters the face and whether the skin tone reads natural and true.

Eyes & expression

The gaze, the brow, and the life in the eyes that reads as confidence and approachability.

Who it's for

  • Anyone curious about their facial symmetry.
  • People who feel one side of their face photographs better.
  • Those wanting to understand camera distortion effects.
  • Anyone looking for their best angle.
  • People who want to minimize apparent asymmetry in photos.
  • Models, actors, or anyone in front of cameras regularly.

Who it's not for

  • If you want medical or surgical advice about asymmetry.
  • If you are seeking body dysmorphia counseling.
  • If you cannot accept that perfect symmetry does not exist.
  • If the photo is angled or tilted significantly.
  • If you want to completely change your facial structure.
  • If you are looking for orthodontic or dental advice.

Do and don't

Do

  • Accept that perfect symmetry does not exist in nature.
  • Use even, front-facing lighting to minimize shadows.
  • Keep the camera at eye level and straight-on.
  • Step back or use 2x lens to reduce wide-angle distortion.
  • Keep your head level (not tilted).
  • Focus on your best features rather than obsessing over asymmetry.
  • Remember that slight asymmetry makes faces interesting and unique.

Don't

  • Do not obsess over achieving perfect symmetry—it is impossible.
  • Do not use ultra-close wide-angle selfies (maximizes distortion).
  • Do not tilt your head dramatically to one side.
  • Do not use harsh side lighting (emphasizes asymmetry).
  • Do not compare yourself to heavily edited or mirrored photos.
  • Do not let minor asymmetries affect your self-confidence.
  • Do not forget that many famous faces are notably asymmetrical.

Common questions

FAQ

No. Small asymmetries are normal and usually not noticeable in real life. Photos and lighting can exaggerate them, but perfect symmetry is extremely rare and not necessary for attractiveness.

Nanorater

Rate more photos with different personas

Upload one photo, switch the point of view, and iterate on feedback you can use.

AI Disclosure: This tool uses artificial intelligence to analyze photos and provide feedback. Results are for entertainment and educational purposes and should not be considered professional advice.