Nanorater2,600+ people have rated a photo

Eye Area Rater

AI-rates your eye area for awake and attractive vibes in photos. Flags squint, harsh shadows, and tired lighting—then gives simple pose and lighting fixes to make your eyes look better on camera.
No photo handy? Rate an example:

Example rating reportExample output

AI result

Your personalized report will appear here with clear strengths and practical retake advice.

Free score and summary; free account for the full single-photo report$17.49 once for your Glow-Up Report: AI previews of you with the fixes appliedSee our privacy policy for photo storage and AI processing

What one photo gives you

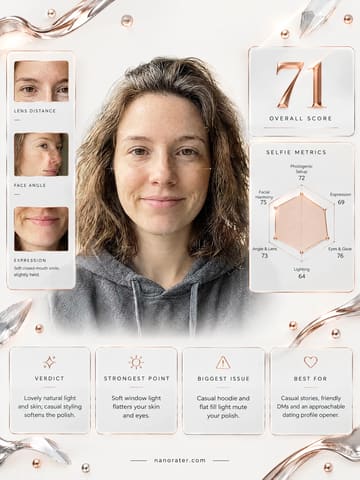
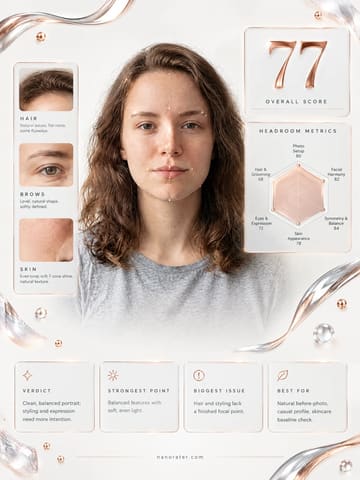
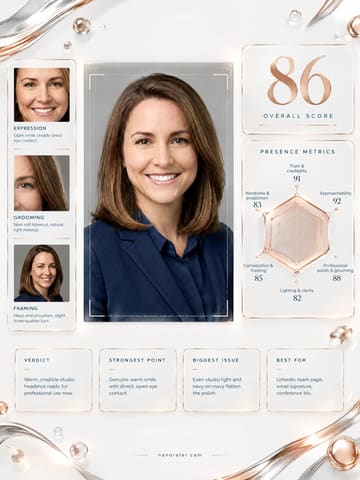
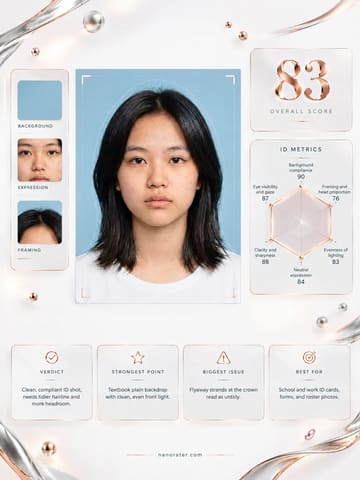
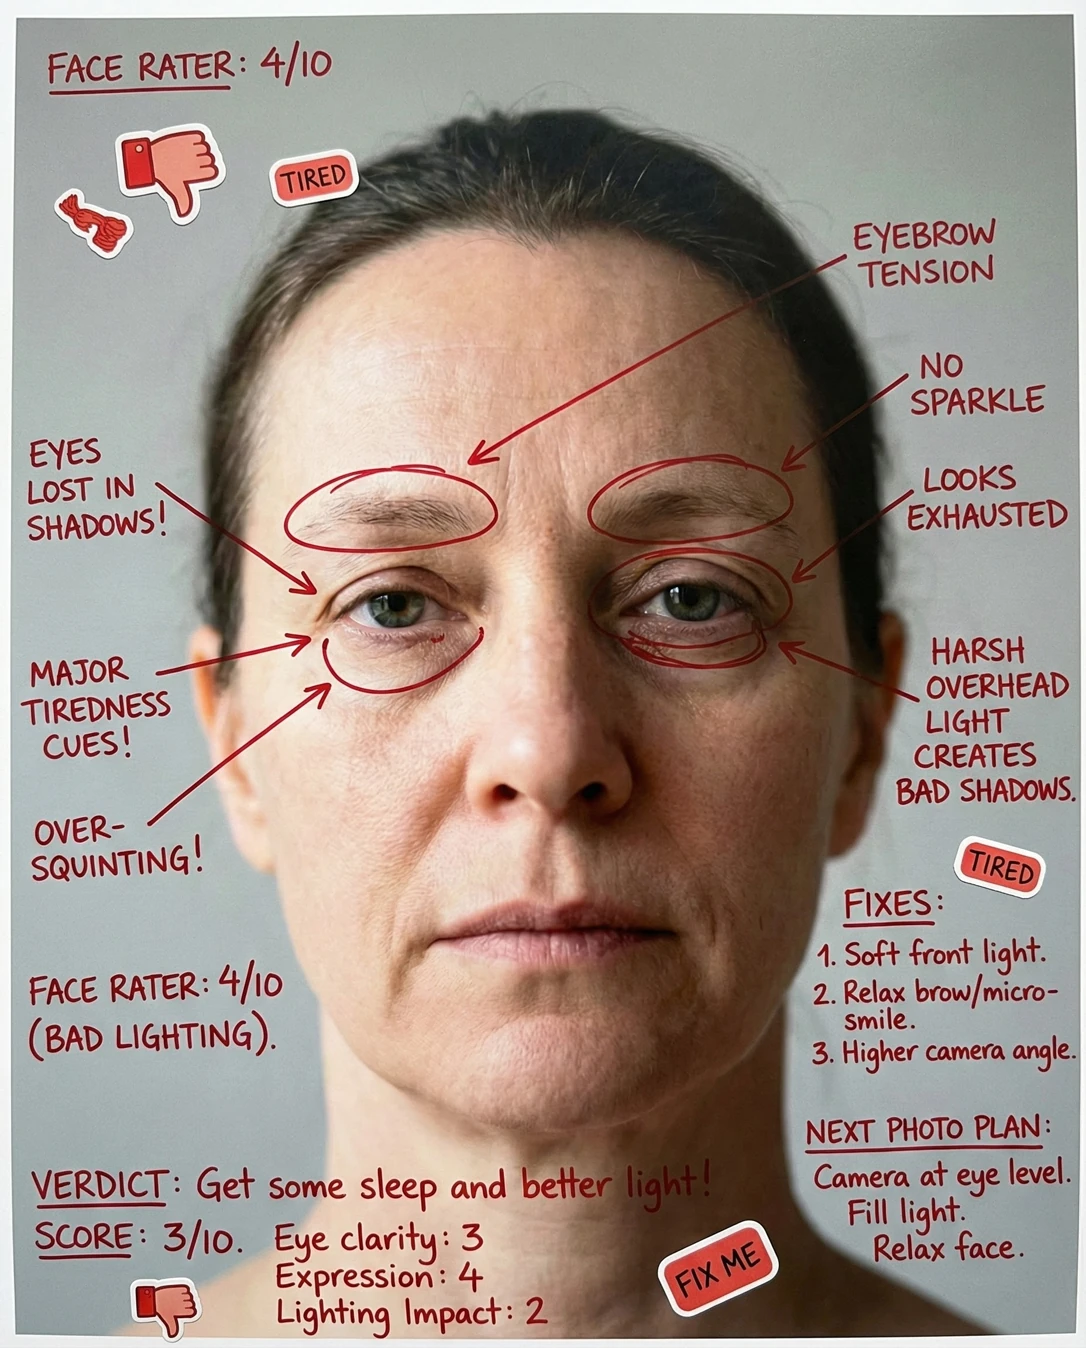
One upload, three deliverables. The annotated notes and the professional card are both built from the same photo, so you can compare them side by side.

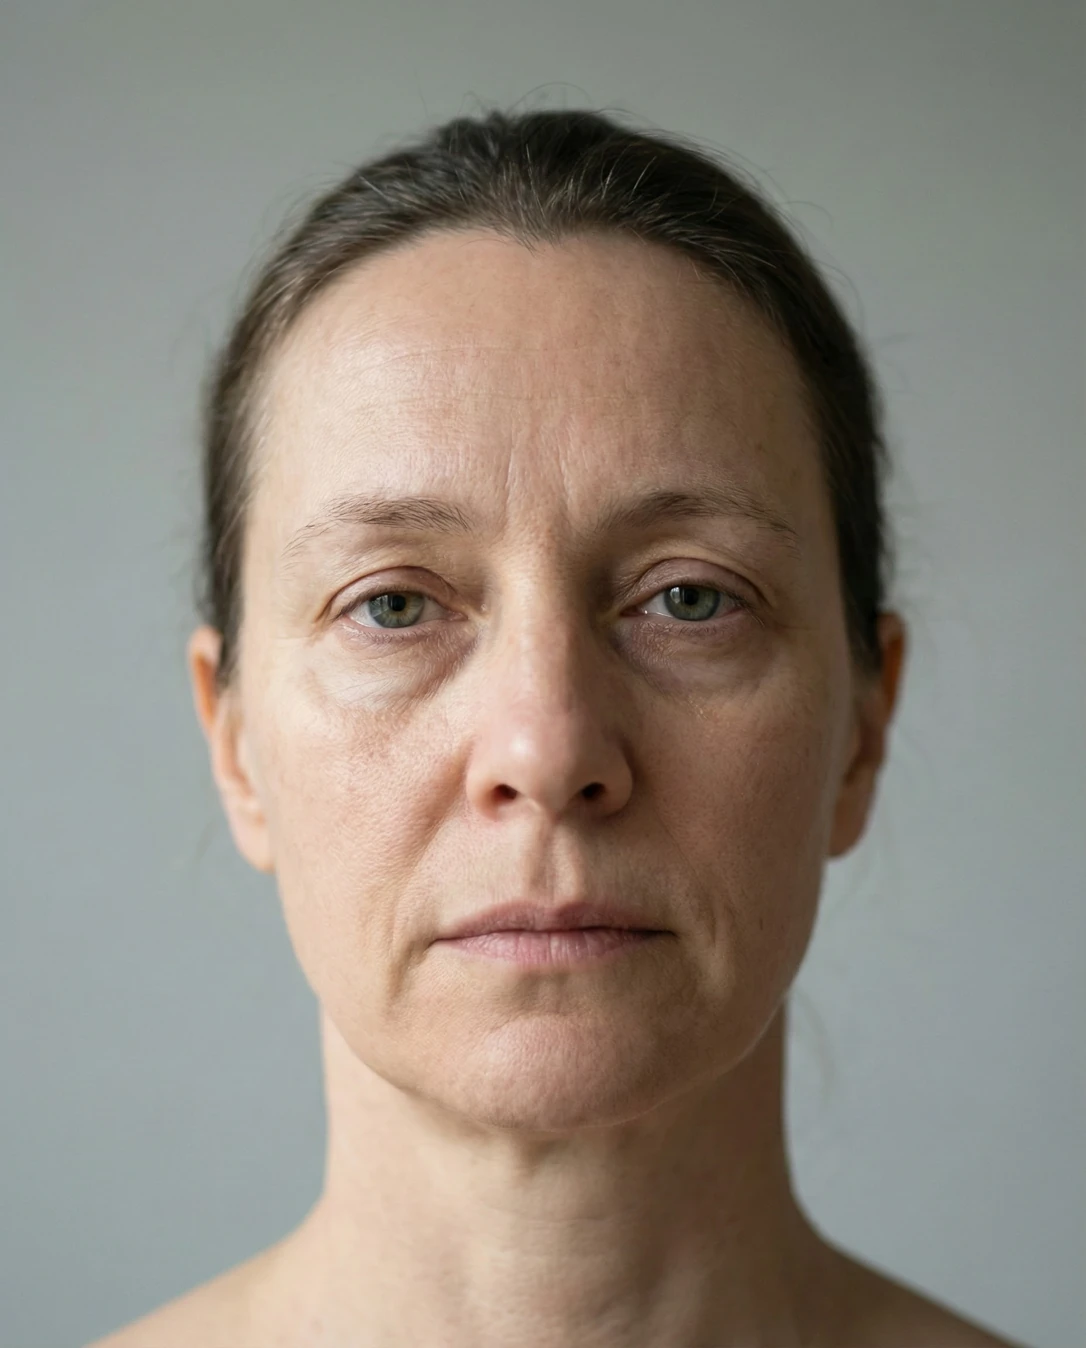
Eye Area Rater: Doodle notesEye Area Rater: Your photoYour photoDoodle notes
Drag the divider — or use arrow keys — to wipe between the original upload and the annotated result.
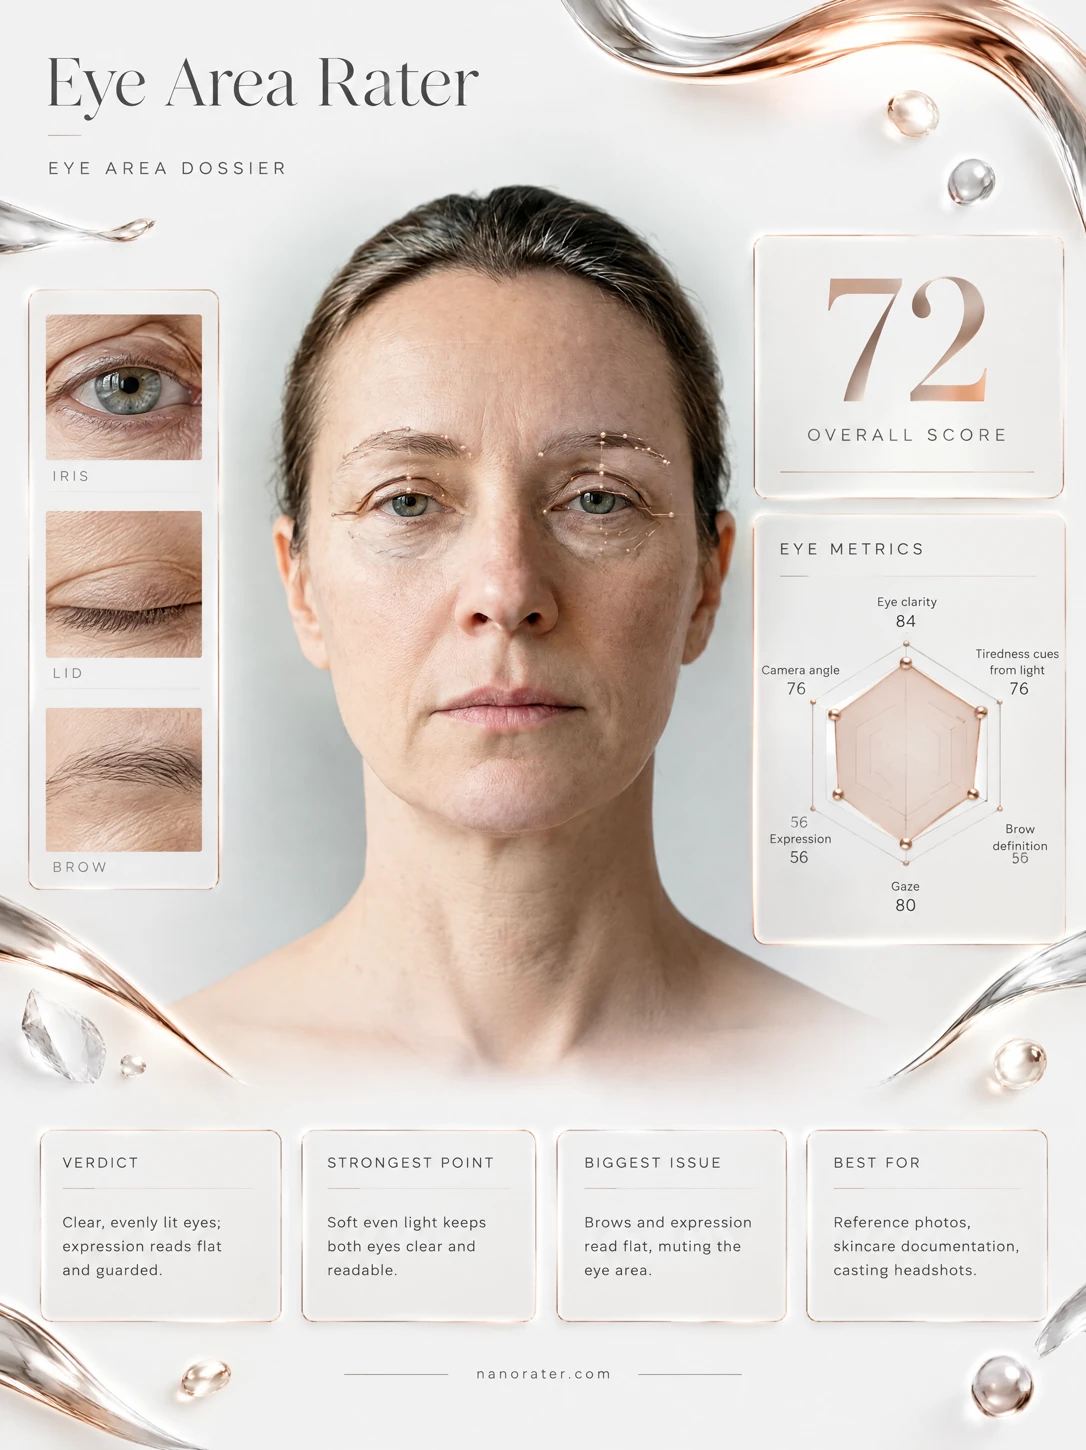
Eye Area Rater: Professional card
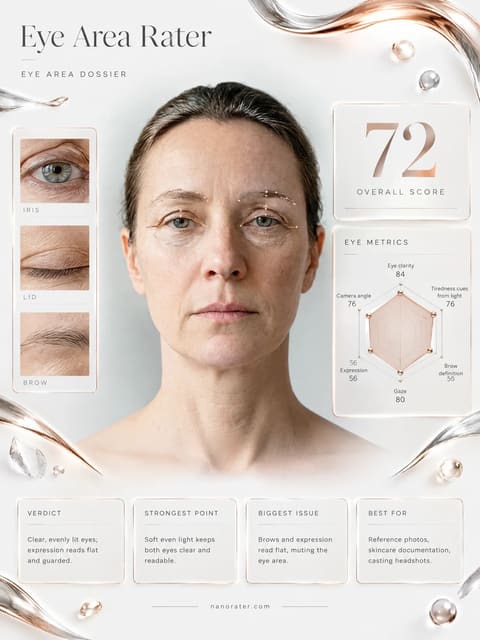
Professional cardA clean, shareable report card built from the same photo

A real report, captured

Those eyes are doing the hard part already — tack-sharp, dead-centred, looking straight down the barrel at me — but the flat frontal light is quietly ironing the contour out of them, and the solemn mouth keeps a little of the warmth at the door. Give the light a shoulder to come over and let the lower lids join in, and this same face turns luminous.

74/ 100
Potential
88

Where this photo works

This works beautifully as a neutral, honest eye-area study — clinical reference, skincare documentation, documentary or casting-type shots where a plain grey wall and unbroken direct gaze are exactly the point. It does not work as a warm, approachable small-format avatar or a lively personal profile picture: at thumbnail size the flat light and solemn register mute the eyes, and the cool grey wall sits too close in value to the skin to give the face any pop.

Quickest fixes

  • Lift the under-eye shadows roughly 10% and leave the rest of the face untouched.
  • Add a whisper of local contrast and sharpening to the iris and lash line only — not the whole face.
  • Warm the frame 100–200K so the grey-green iris separates from the cool grey wall.

Retake plan

  1. 1.Camera height: lens at eye level or 5cm above, subject's chin dipped a fraction toward the lens, same front-on framing, same tight head-and-shoulders crop.
  2. 2.Lighting direction: key at 30–45° off axis and slightly above eye height, with the existing frontal softness kept as fill so the eye area stays fully legible.
  3. 3.Below-eye fill: white card or small bounce at chest height to open the tear trough without flattening the new brow shadow.
  4. 4.Catchlight: small source — window or phone screen — at eye level 45° to plant a crescent highlight in the upper iris.
  • Eye clarity & sharpness88

    At this tight head-and-shoulders crop both irises resolve with a defined limbal ring, visible lash line and no motion or focus fall-off; the front-on alignment keeps both eyes on the same plane of focus.

  • Gaze direction & engagement86

    Irises are centred in the lid aperture and aimed directly down the lens with no drift, producing sustained, unbroken eye contact; the eye line sits above frame centre, which holds the viewer's attention at the eyes.

  • Iris colour & catchlight73

    The irises read as a muted grey-green and sit close in hue and value to the cool grey seamless behind, with only a small off-centre catchlight, so the eye surface has limited sparkle and the colour doesn't separate strongly from the background.

  • Under-eye lighting & shadow62

    The frontal source leaves a soft, broad shadow across the tear trough and under-eye hollow — a diffuse grey band rather than a hard line, with low textural contrast and no fill from below to lift it.

  • Lid texture & hooding68

    There is visible hooding and fine texture across the upper lid, with no shadow line separating lid from brow bone; the even light flattens the crease so the lid reads as one continuous surface rather than a shaped form.

  • Brow shape & framing67

    The brow arch is relaxed and natural with a tapering tail, but the hair is drawn back tightly, which flattens the temple and removes the under-brow shadow that would otherwise frame the eyes; sparse density at the tail softens the outer edge of the frame.

  • Expression tension & openness72

    No squint and no wide-eyed strain; the brow sits unfurrowed at rest, though a faint vertical line at the glabella and a level closed mouth hold the face in a solemn register and keep the lower lids from engaging.

  • Camera angle & eye scale80

    Front-on with the lens at eye level, both eyes render at equal size with no vertical distortion and no uneven weighting between them; the straight-on angle does compress the cheekbone-to-eye transition slightly.

  • Light & colour harmony76

    Even, shadowless frontal light on a plain grey seamless makes the eye area fully legible, but the cool grey backdrop sits close in value and temperature to the skin and eye colour, so subject and background don't separate cleanly.

  • Framing & crop discipline82

    A tight head-and-shoulders crop holds the eyes at the upper third with bare shoulders and no competing detail in frame; the plain background keeps every element subordinate to the eyes.

What works

  • Tack-sharp eyes on a clean focal plane

    Both irises are fully resolved with a readable lash line and limbal edge; no motion blur or focus fall-off at a very tight crop.

  • Plain seamless background gives the eyes nothing to fight

    A single flat grey wall fills the frame behind the subject; no objects, texture or colour patches pull attention from the eye area.

What holds it back

  • Flat frontal light collapses eye-socket depth

    No shadow under the brow and no crease shadow on the lid; lid, brow and cheekbone read as one plane.

  • Soft under-eye shading broadens the lower lid

    A diffuse grey band runs across the tear trough with low textural contrast and no fill from below.
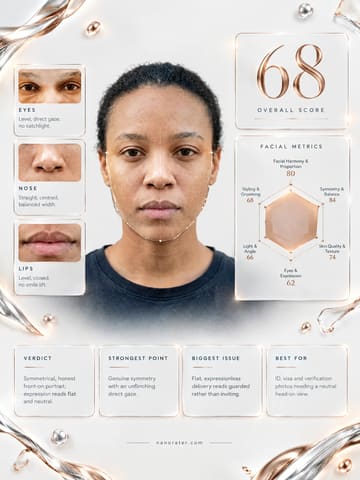
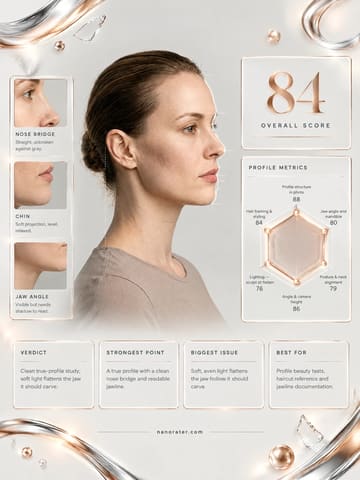
Generated by the live pipeline from the example photo above — a real report, unedited. Your report is written about your photo, in your language.

What this tool does

Your eyes are the focal point of every photo you take. They communicate energy, emotion, and engagement before you say a word. But poor lighting, camera angles, and squinting can make even well-rested eyes look tired and small. This Eye Area Rater analyzes your eye region specifically—identifying what is making your eyes look less vibrant and giving you targeted fixes to achieve that bright, awake look that draws people in.

  • Eyes are clearly visible and in focus (not the nose or ears).
  • Lighting is even across the eye area (no harsh shadows underneath).
  • You are not squinting or straining (relaxed eye muscles).
  • Camera is at eye level (not looking up or down dramatically).
  • Photo is sharp enough to see eye detail (not blurry).
  • Expression engages the eyes (not just the mouth).
  • No red-eye or flash reflection obscuring the iris.
  • Overall eye area looks awake and vibrant.

How to use it

  1. 1Upload a photo where your eyes are clearly visible.
  2. 2Review the analysis of eye area lighting and shadows.
  3. 3Check feedback on squinting and muscle tension.
  4. 4Note the camera angle recommendations.
  5. 5Apply the lighting fixes suggested (usually biggest impact).
  6. 6Practice the relaxed eye expression techniques.
  7. 7Retake photos with improvements and compare results.

Scoring rubric

Eye area

The shape, openness, and vitality of the eyes and the surrounding area.

Brow

The brow's shape and position and how they frame the eyes.

Gaze

The directness and life in the gaze that draws people in.

Light & color

How the light flatters the face and whether the skin tone reads natural and true.

Who it's for

  • Anyone who feels their eyes look tired in photos.
  • People wanting to look more awake and energetic.
  • Those preparing for professional headshots.
  • Dating app users wanting more engaging photos.
  • Anyone curious about eye-focused photography tips.
  • People who squint or have small-looking eyes in pictures.

Who it's not for

  • If you want medical advice about eye conditions.
  • If you are seeking cosmetic surgery recommendations.
  • If the photo is too dark to see your eyes clearly.
  • If you want makeup tutorial recommendations.
  • If you wear glasses with heavy glare that obscures eyes.
  • If you are looking for contact lens advice.

Do and don't

Do

  • Use soft, front-facing light to eliminate under-eye shadows.
  • Keep the camera at eye level for natural proportions.
  • Relax your forehead and brow muscles (reduces squint).
  • Think of something pleasant to create eye engagement.
  • Ensure your eyes are the sharpest point in the photo.
  • Take photos when you are actually well-rested if possible.
  • Consider slightly raising your eyebrows for a more open look.

Don't

  • Do not use harsh overhead lighting (creates raccoon shadows).
  • Do not shoot from below eye level (makes eyes look smaller).
  • Do not squint or tense your eye muscles.
  • Do not use direct flash (causes red-eye and glare).
  • Do not take photos in very low light (adds noise and dullness).
  • Do not forget that your eyes should be in focus, not your nose.
  • Do not over-edit eye area (looks unnatural).

Common questions

FAQ

Overhead light creates under-eye shadows and makes eyes look smaller. Low light also adds noise and dullness. Front window light helps a lot by filling in shadows and making eyes look brighter.

Nanorater

Rate more photos with different personas

Upload one photo, switch the point of view, and iterate on feedback you can use.

AI Disclosure: This tool uses artificial intelligence to analyze photos and provide feedback. Results are for entertainment and educational purposes and should not be considered professional advice.